Developer Guide: Setting Up TideCloak as an Identity Provider (IdP)
This guide provides a step-by-step walkthrough for configuring TideCloak as an Identity Provider (IdP), allowing your applications to leverage decentralized, zero-trust authentication.
Prerequisites
Before proceeding, ensure you have:
- Docker installed (TideCloak runs in a Docker container).
- Basic familiarity with TideCloak's realm, user, and client configuration.
1. Launch the TideCloak Admin Console
- Navigate to:
http://localhost:8080 - Log in with the admin credentials you specified during setup (
admin/admin).
From the admin console, you'll manage realms, users, clients, and identity providers.
1.1 Create a Realm
- Click on Keycloak > Create Realm
- Set the realm name (e.g.,
myrealm) - Click Create
1.2 Add a User
- Navigate to Users
- Click Add user
- Enter a username and optionally: email, first name, last name
- Click Save
To reduce data footprint later, we'll disable unnecessary user fields.
1.3 Register a Client
- Navigate to Clients
- Click Create
- Set a Client ID (e.g.,
myclient) and chooseopenid-connectas the protocol - Click Save
- Configure redirect URIs, access type, and scopes as needed
For full setup instructions, see: Deploy TideCloak with Docker
2. Add Tide as an Identity Provider
What is an IdP?
An Identity Provider (IdP) issues identity tokens to users after verifying their credentials. In TideCloak, this process leverages decentralized key management for maximum security.
Steps to add Tide as an IdP:
- Go to Identity Providers
- Select Tide from the provider list
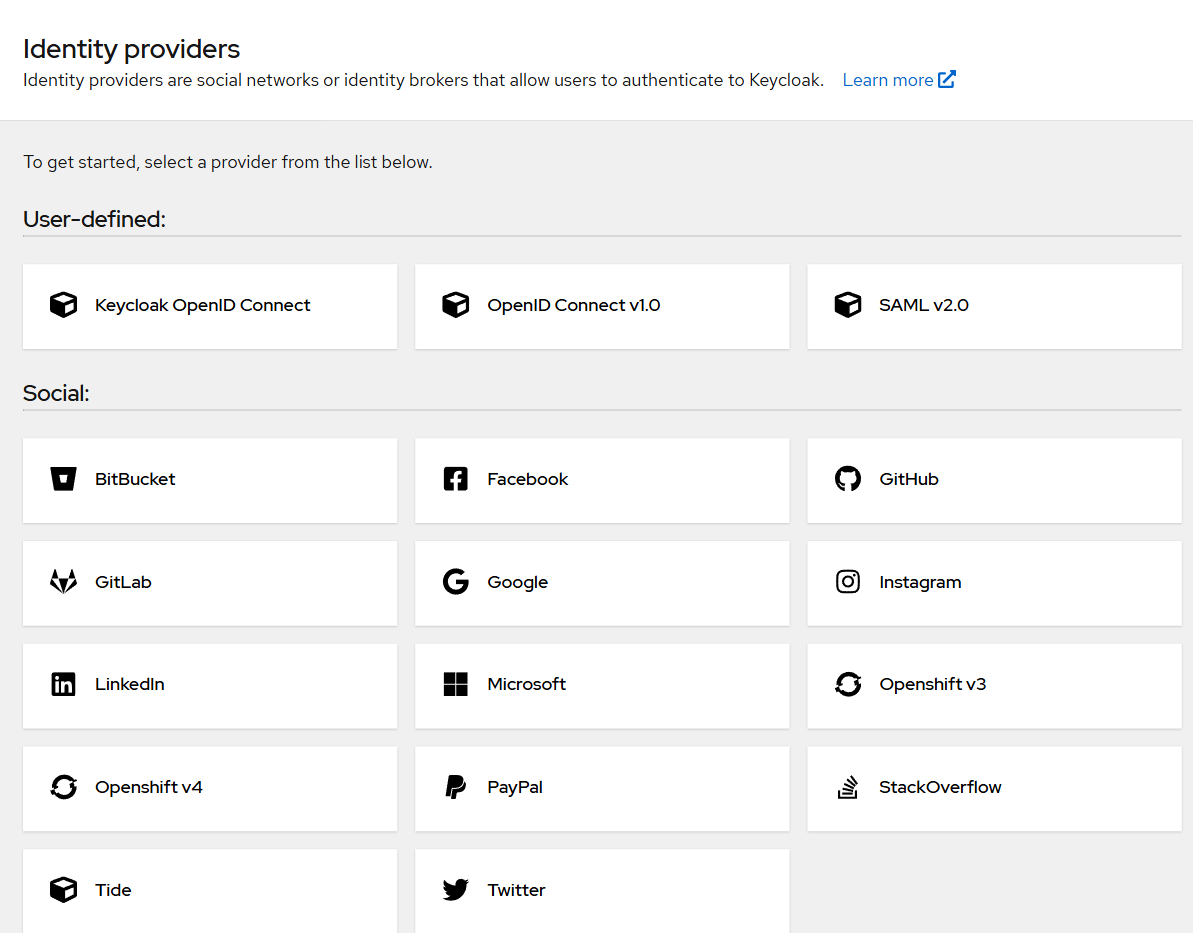
- Complete the form on the Add Tide Provider screen and click Save
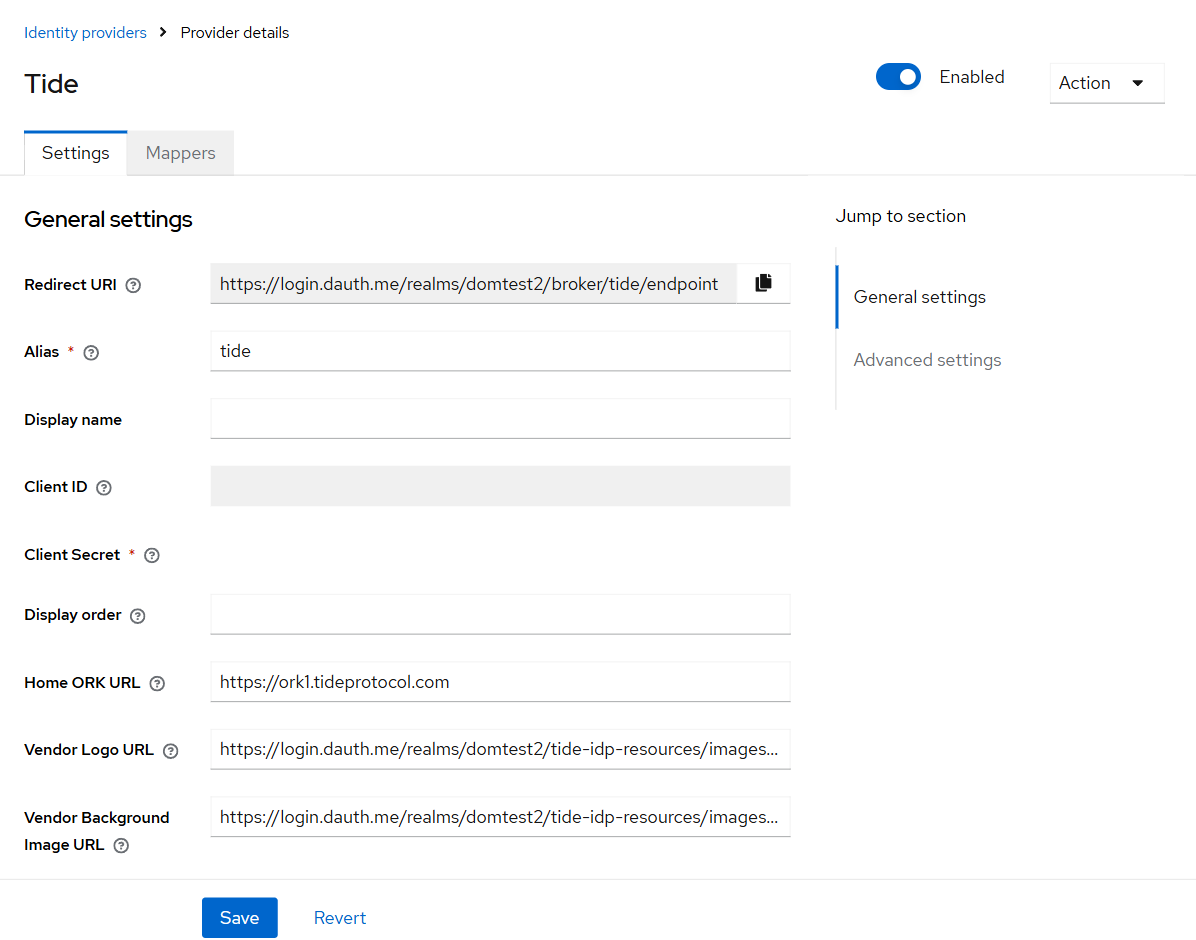
This links your realm to Tide's decentralized login flow.
3. Set Tide as the Default Identity Provider
To streamline login via Tide:
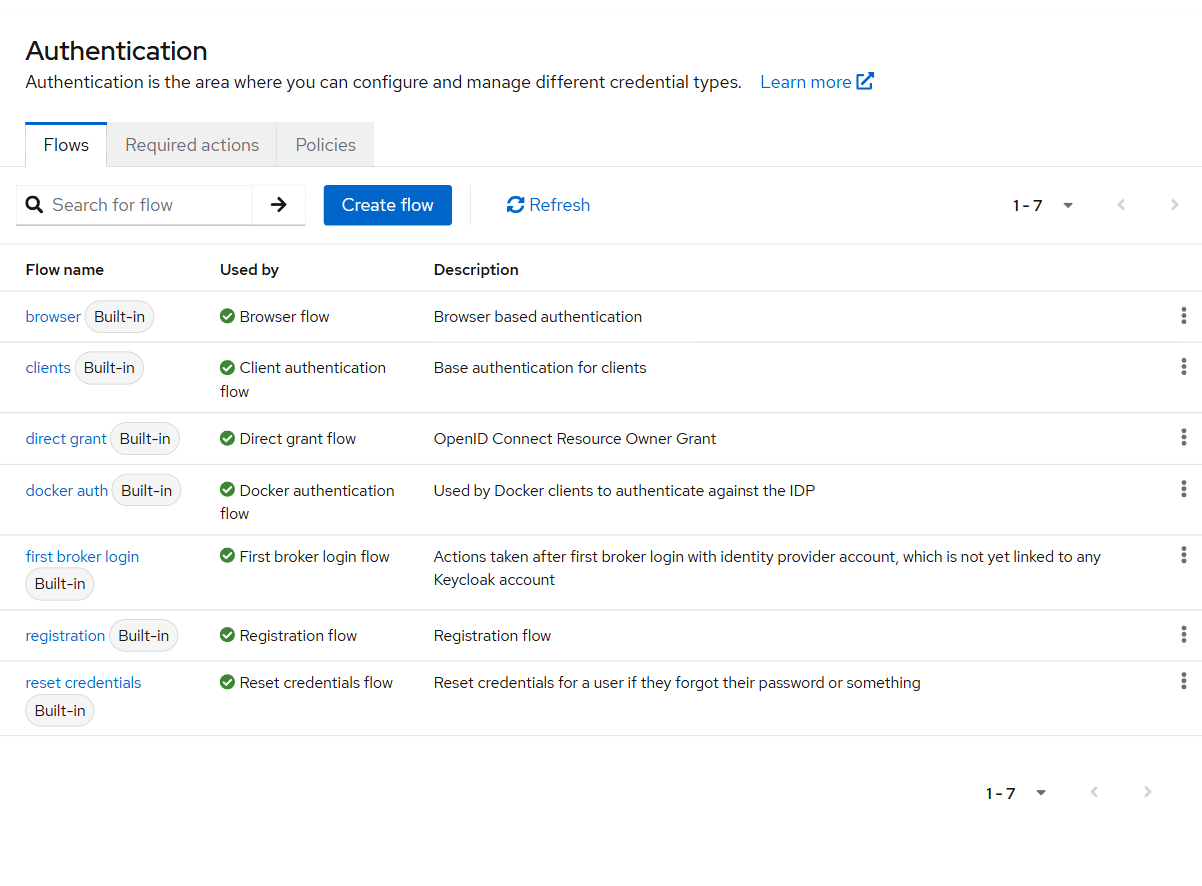
- Go to Authentication > Flows
- Edit the
browserflow
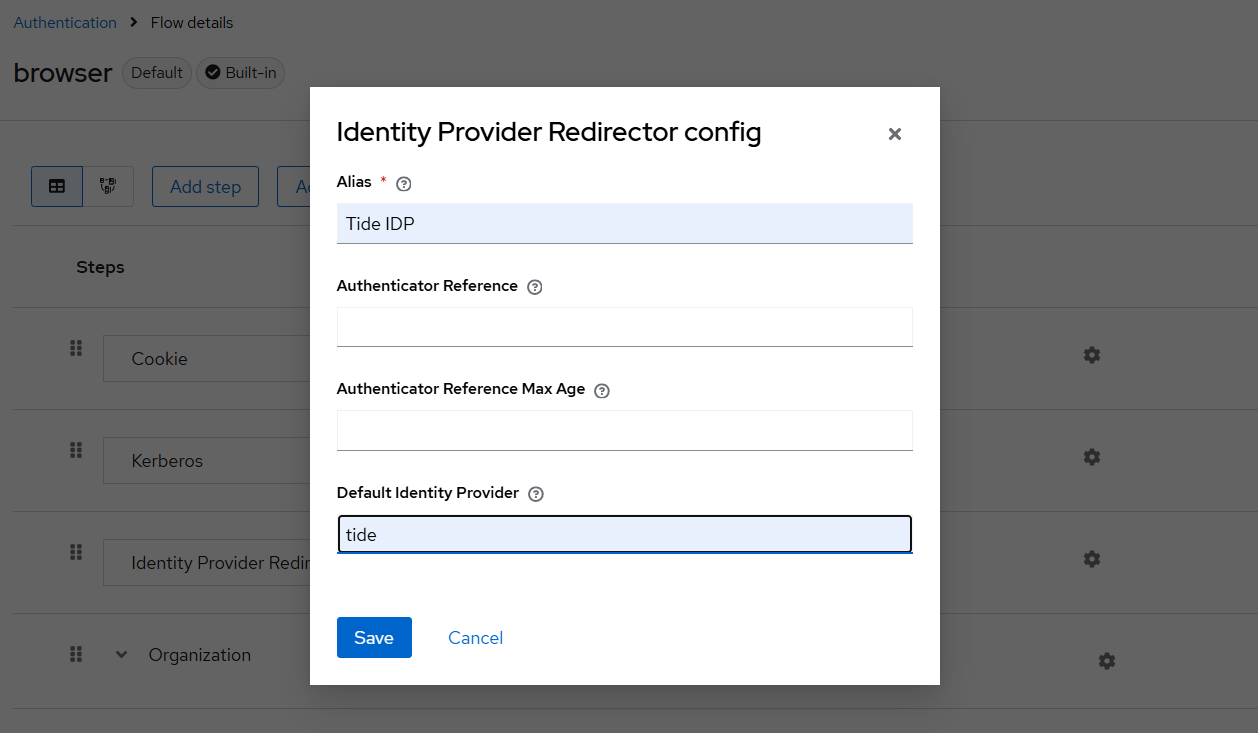
- Click on the Identity Provider Redirector step
- Set:
- Alias: e.g.,
Tide IDP - Default Identity Provider:
tide
- Click Save
Now, all unauthenticated users will be redirected to Tide for login.
4. Validate the Integration
Use the SPA Testing App to confirm integration:
- Launch the app
- Click Save to keep default client settings
- Click Sign In
- You should be redirected to the Tide login screen
If the redirect works, Tide is successfully configured as your Identity Provider.
Optional: Minimize Stored User Data
To enforce a minimal identity model:
- Go to Realm Settings > User Profile
- Locate and remove fields such as:
firstNamelastNameemail
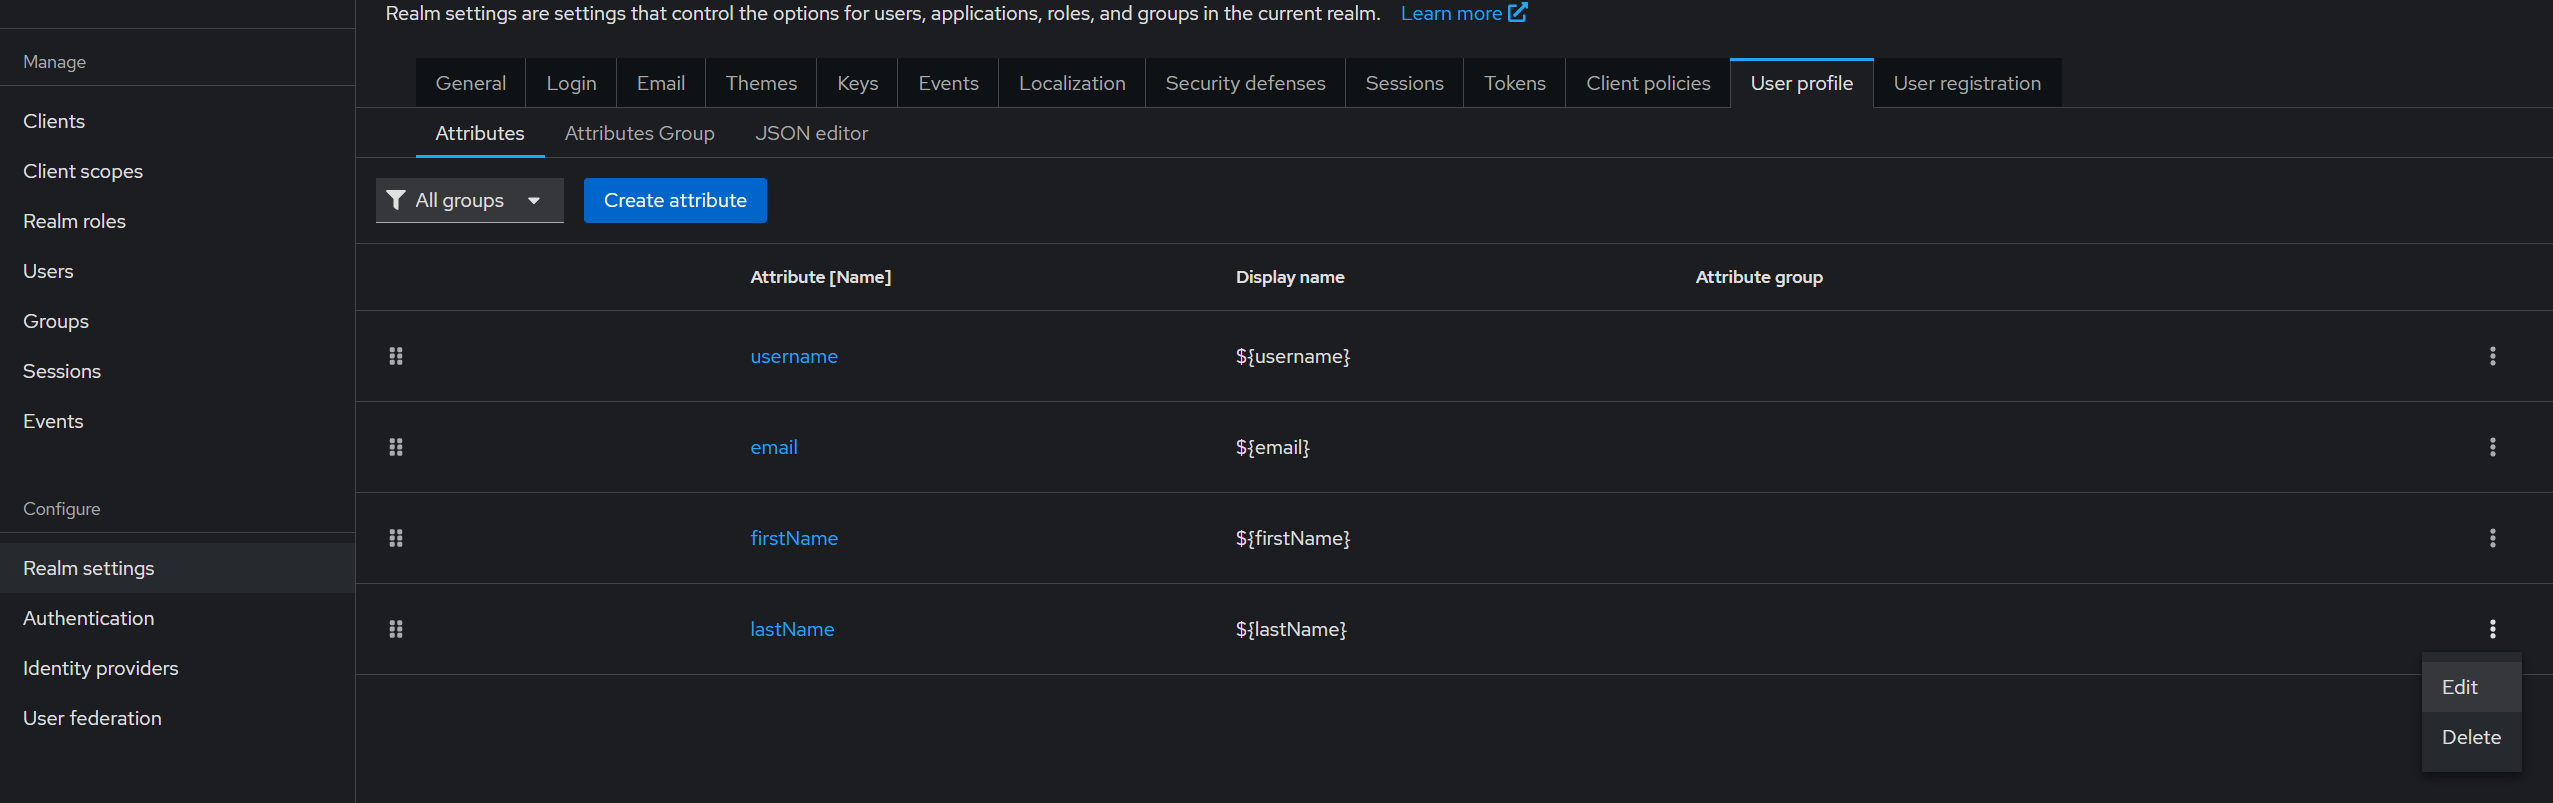
This aligns with TideCloak's zero-trust and privacy-first principles.
Optional: User Login and Registration
Once Tide is live as an IdP, users will interact with a secure login and onboarding flow.
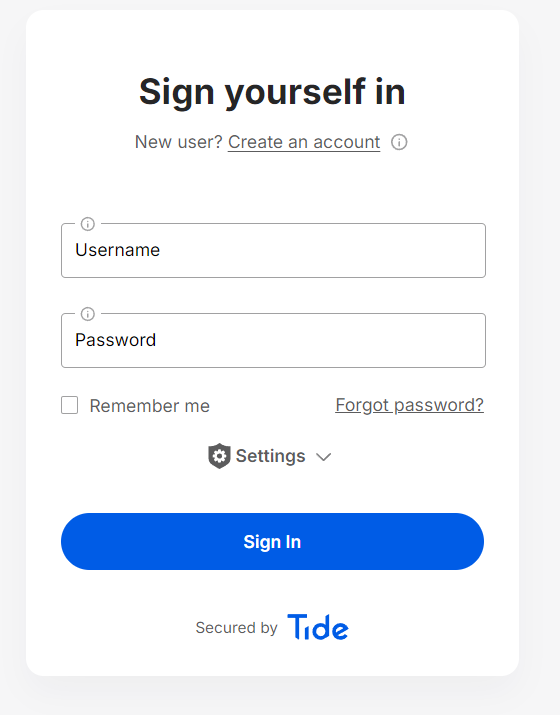
Login
Users will land on a streamlined login page:
Registration Flow
- Click "Create an account"
- Enter credentials: Username and password
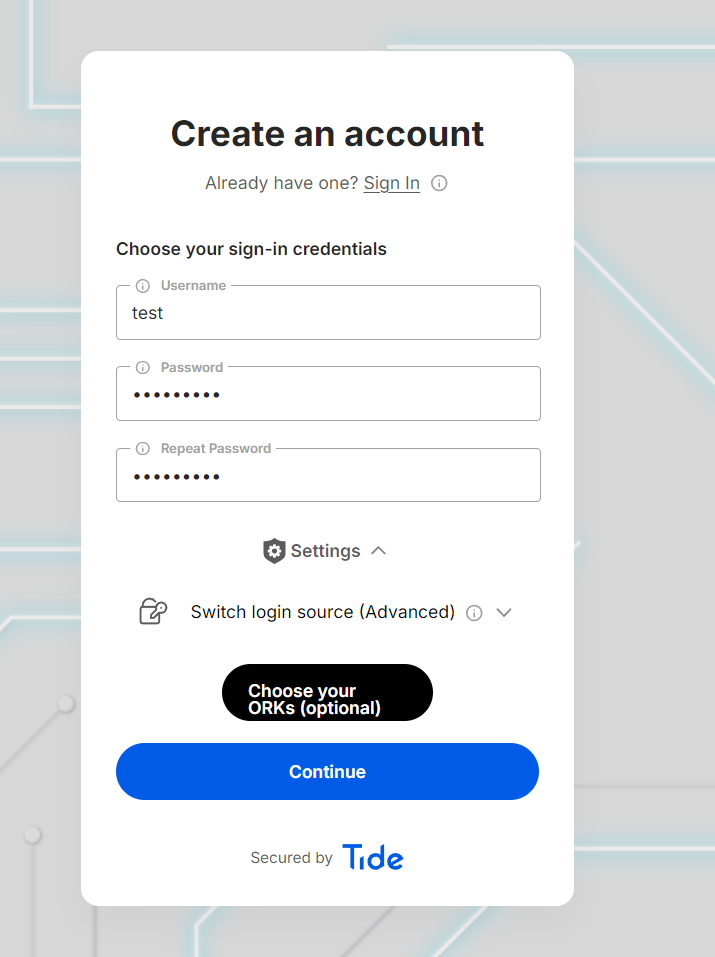
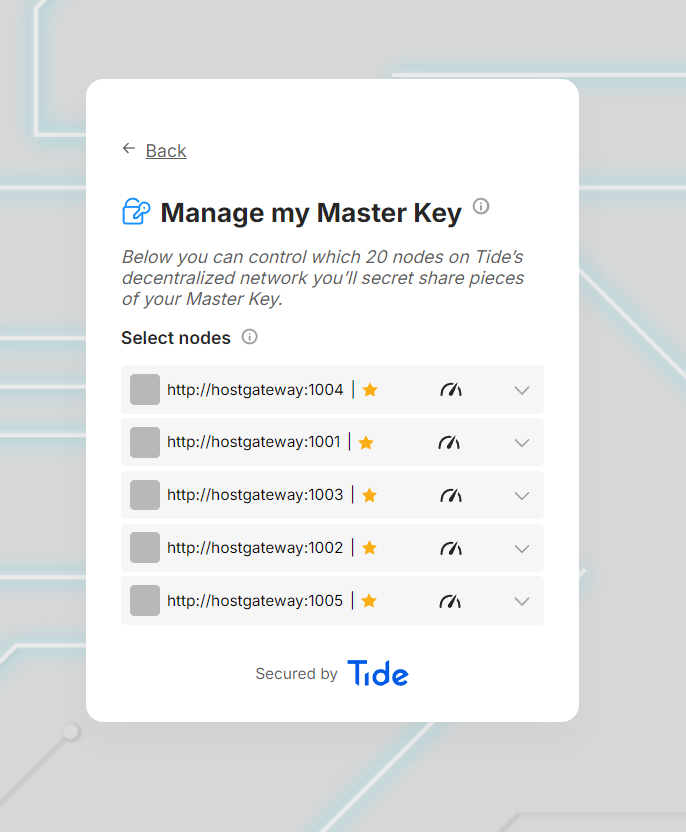
- Select key storage nodes
- Users configure how their Consumer Master Key (CMK) is distributed across Tide's decentralized network
- Configure recovery options (email optional)
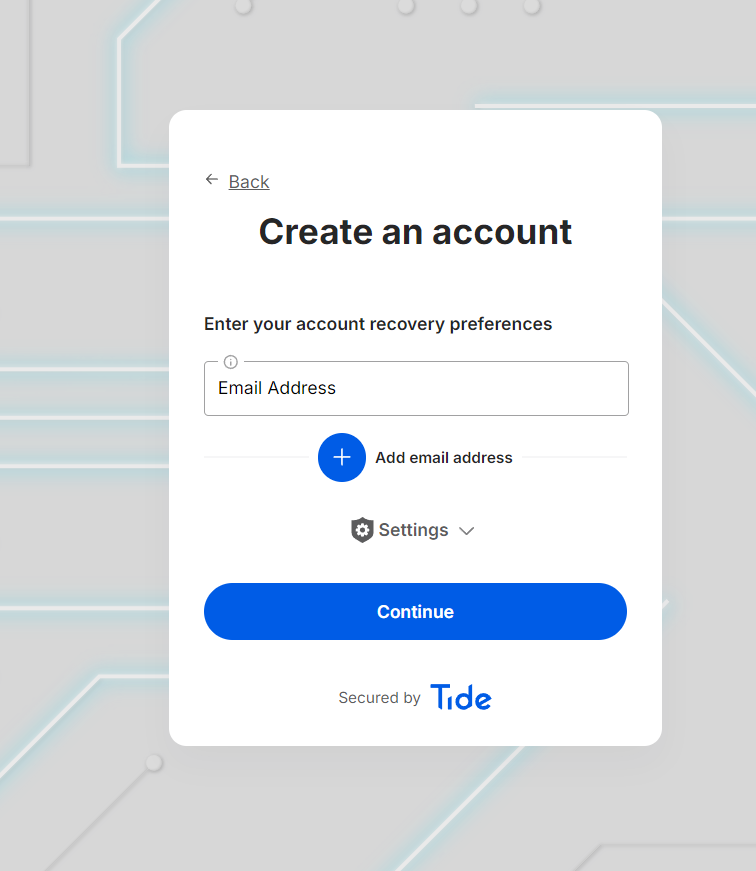
- Complete registration
This process ensures the user's identity and credentials are secure, decentralized, and user-owned.
You're Done!
You've successfully:
- Deployed TideCloak with Docker
- Configured realms, users, and clients
- Integrated Tide as your default Identity Provider
- Verified the flow with a testing client
Your application now benefits from decentralized, cryptographically enforced authentication.