Guide:Install Linux on Windows with WSL
This Page will help you install a Linux distribution and use Linux applications, utilities, and Bash command-line tools directly on Windows, unmodified, without the overhead of a traditional virtual machine or dualboot setup.
Prerequisites
You must be running Windows 10 version 2004 and higher (Build 19041 and higher) or Windows 11 to use the commands below. If you are on earlier versions please see further down below for the manual install gudie.
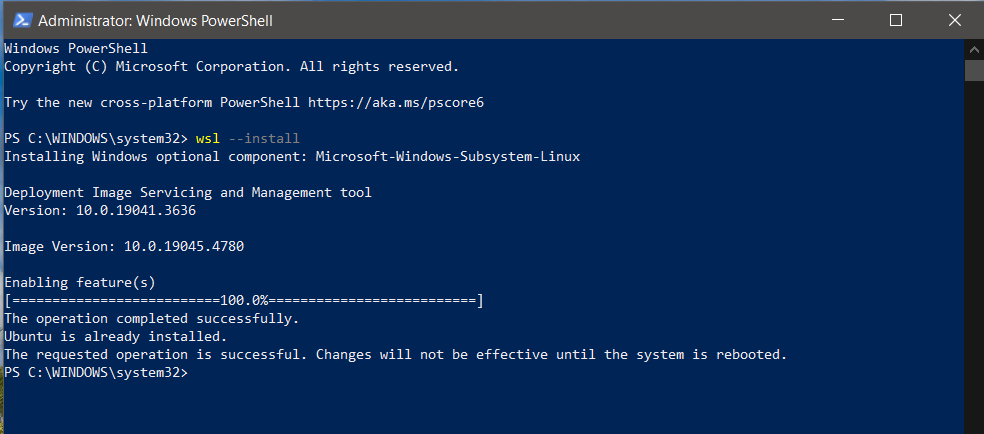
1. Install WSL command
wsl --install
2. Change the default Linux distribution installed
By default, the installed Linux distribution will be Ubuntu. We will change this to Debian
wsl --install -d Debian

3. Set up your Linux user info
Once you have installed WSL, you will need to create a user account and password for your newly installed Linux distribution

4. Check which version of WSL you are running
You can list your installed Linux distributions and check the version of WSL each is set to by entering the command:
wsl -l -v

Manual installation of WSL
This Page will help you install a Linux distribution and use Linux applications, utilities, and Bash command-line tools directly on Windows, unmodified, without the overhead of a traditional virtual machine or dualboot setup.
1. Enable the Windows Subsystem for Linux
Before you may install Linux distributions on Windows, you must first enable the optional "Windows Subsystem for Linux" functionality.
Open PowerShell as Administrator and run:
dism.exe /online /enable-feature /featurename:Microsoft-Windows-Subsystem-Linux /all /norestart

2. Check requirements for running WSL 2
To update to WSL 2, you must be running Windows 10...
- For x64 systems: Version 1903 or later, with Build 18362.1049 or later.
- For ARM64 systems: Version 2004 or later, with Build 19041 or later.
3. Enable Virtual Machine feature
Before installing WSL 2, you must activate the Virtual Machine Platform optional feature. To use this functionality, your machine will need to support virtualization.
Open PowerShell as Administrator and run:
dism.exe /online /enable-feature /featurename:VirtualMachinePlatform /all /norestart

Restart your computer to complete the WSL installation and upgrade to WSL 2.
4. Download the Linux kernel update package
The Linux kernel update package installs the latest version of the WSL 2 Linux kernel for running WSL within the Windows operating system image.
- Download the latest package from the WSL2 Linux kernel update link.
- Run the downloaded update package.
5. Set WSL 2 as your default version
Run this command to set WSL 2 as the default version when installing a new Linux distribution:
Open PowerShell as Administrator and run:
wsl --set-default-version 2

6. Install your Linux distribution of choice
Run this command to set WSL 2 as the default version when installing a new Linux distribution:
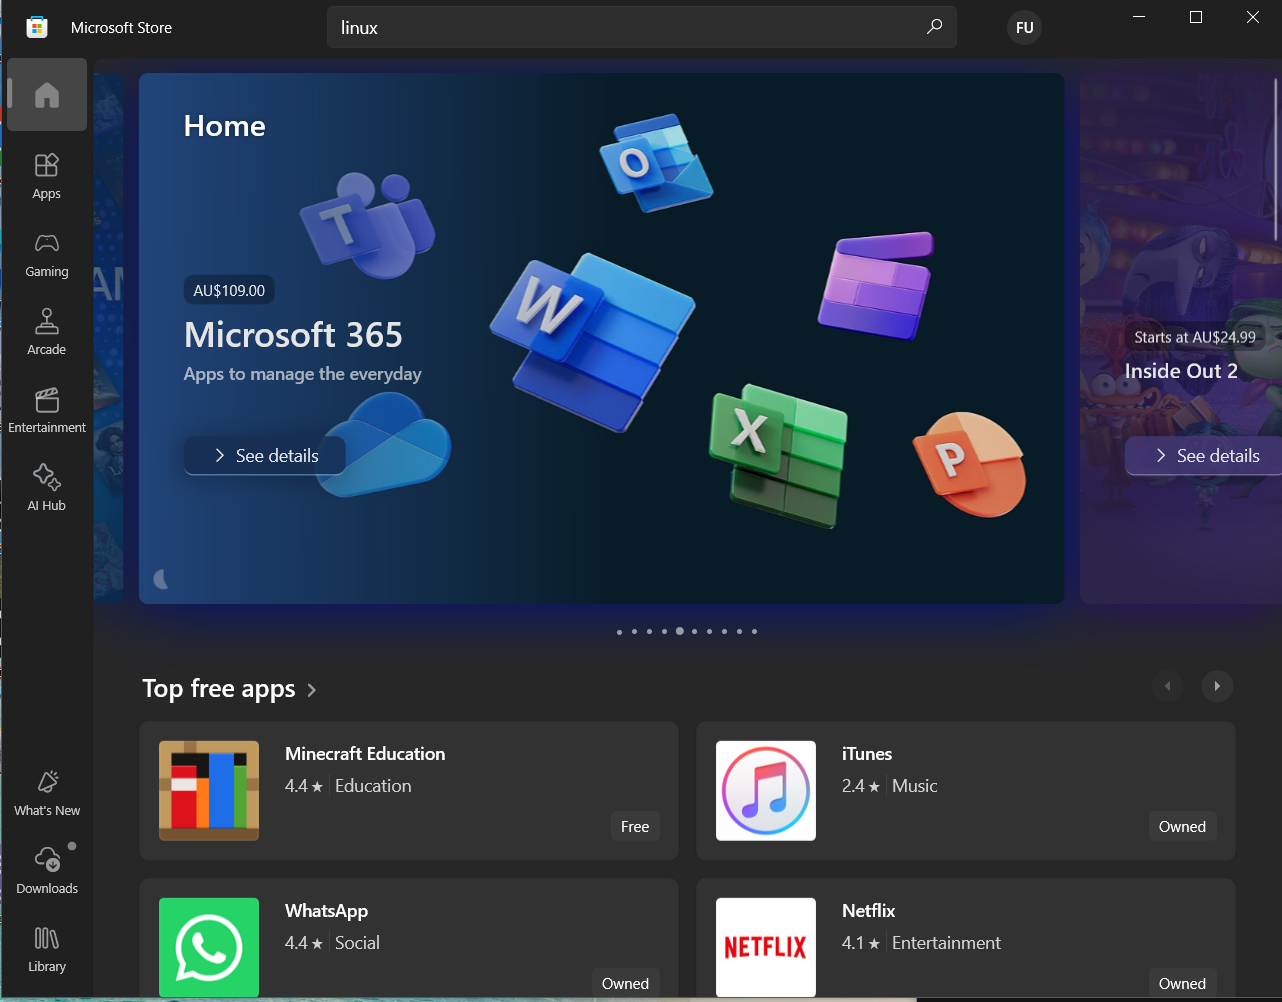
- Open the Microsoft Store and select your favorite Linux distribution.
The links below will access the Microsoft store page for each distribution.
- Ubuntu 18.04 LTS
- Ubuntu 20.04 LTS
- Ubuntu 22.04 LTS
- openSUSE Leap 15.1
- SUSE Linux Enterprise Server 12 SP5
- SUSE Linux Enterprise Server 15 SP1
- Kali Linux
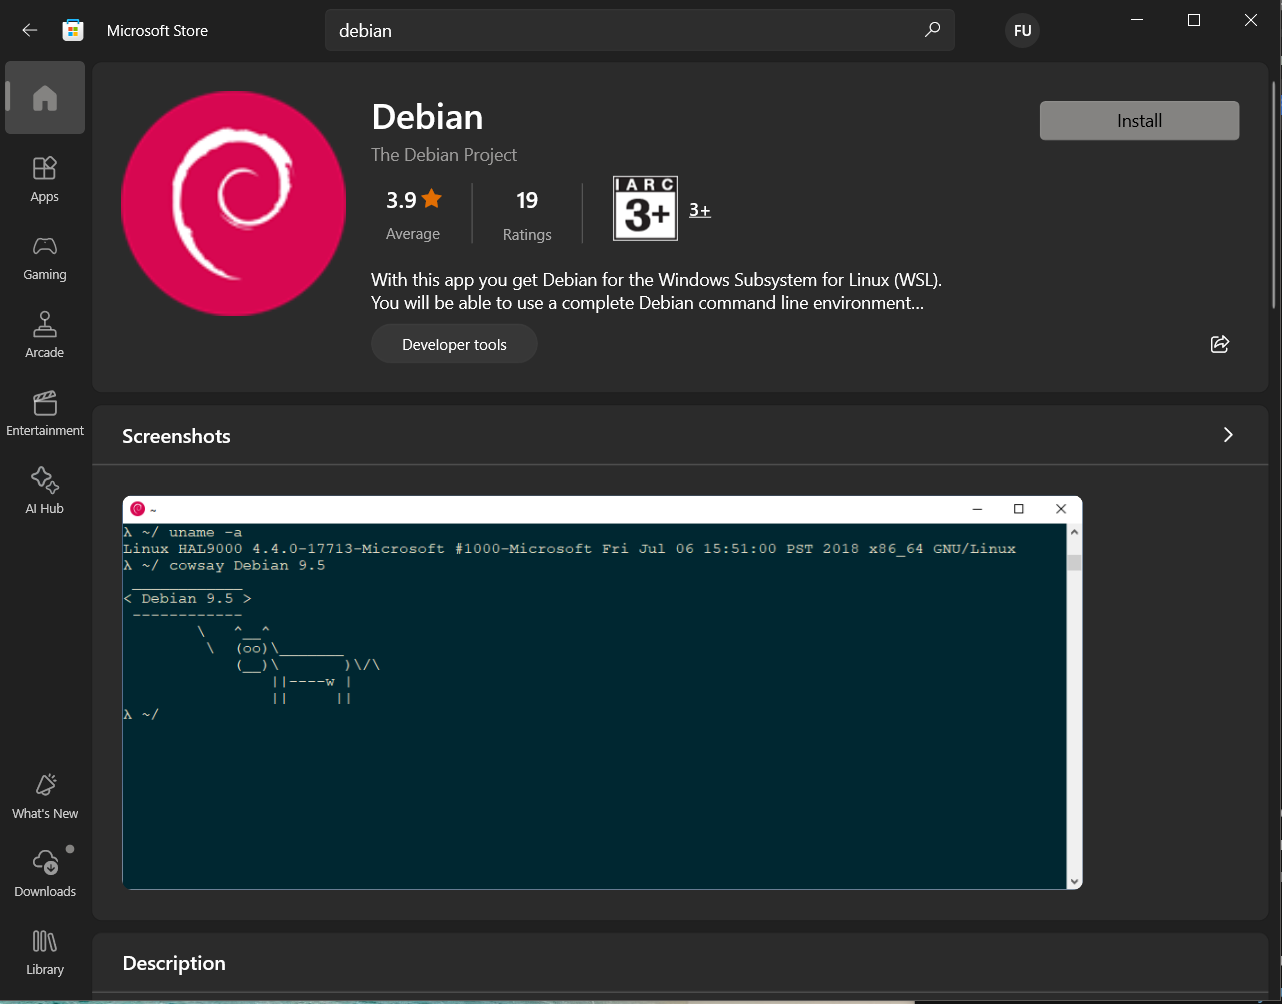
- Debian GNU/Linux
- Fedora Remix for WSL
- Pengwin
- Pengwin Enterprise
- Alpine WSL
- Raft(Free Trial)
- Alma Linux
- From the distribution's page, select "Install".
The first time you begin a newly installed Linux distribution, a console window will appear, and you will be requested to wait a minute or two for files to decompress and be stored on your computer. All future launches should take less than one second.
You'll then need to set up a user account and password for your new Linux installation.
Congratulations on successfully installing the Windows Subsystem for Linux (WSL)! 🎉
You've just unlocked a powerful tool that allows you to run a full Linux environment directly on your Windows machine. Whether you're planning to use Linux for development, testing, or just exploring, you now have the flexibility to do it all without leaving the comfort of your Windows setup.