Developer Guide: Setting Up and Managing a TideCloak License
This guide walks you through the steps required to configure and manage your TideCloak license, including setting up a realm, adding Tide as an identity provider (IDP), and handling license renewal.
Prerequisites
Before you start, ensure the following:
- You have access to a TideCloak admin account.
- You're running the latest version of TideCloak.
- You understand how realms and user registration work in TideCloak.
1. Create a Realm
A TideCloak realm is required before licensing. If you haven't created one yet:
- Refer to TideCloak Quickstart → Creating a Realm to initialize your environment and apply core configurations.
2. Add Tide as an Identity Provider
Once the realm is configured:
- Navigate to Identity Providers in the admin console.
- Click Tide to initiate setup.
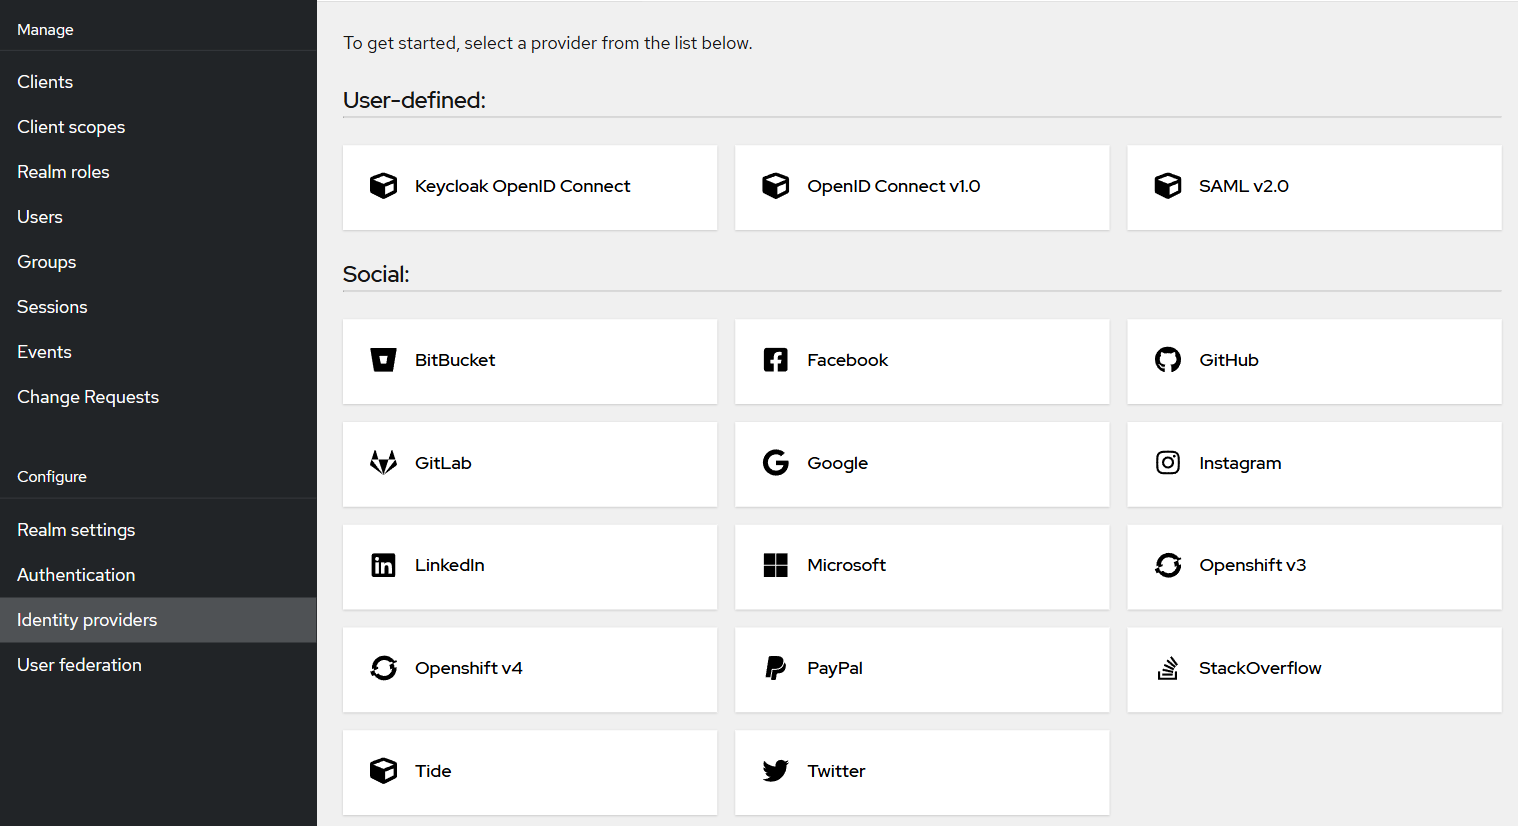
- A new Tide instance will be created under your realm, and a Settings tab will appear.
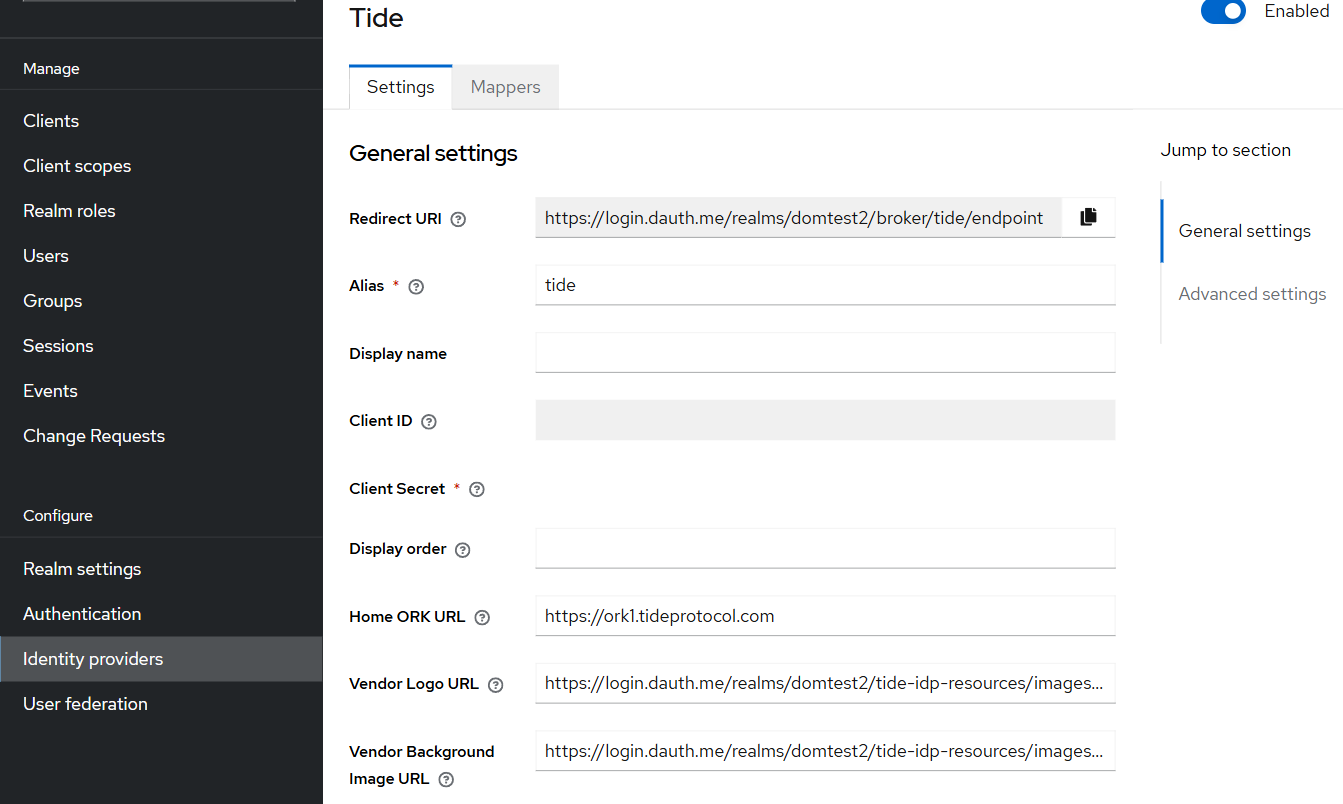
Within the Settings tab, you'll configure both Licensing and Attribute Mappers for the identity provider. These control how user attributes and license data flow between TideCloak and your application.
3. Access the License Management Interface
Once the IDP is created:
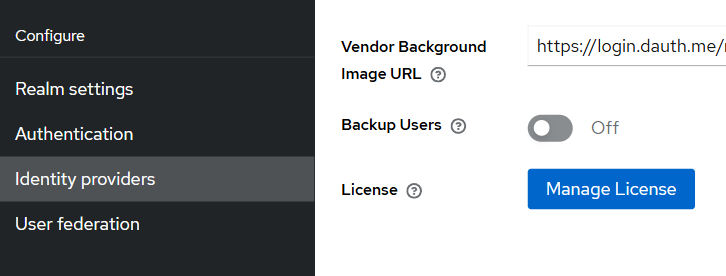
- Open the Tide Settings tab.
- Click the Manage License button.
- You'll be taken to the License Dashboard where you can view:
- Active License
- Upcoming License Changes
- Activity Log of license events and renewals
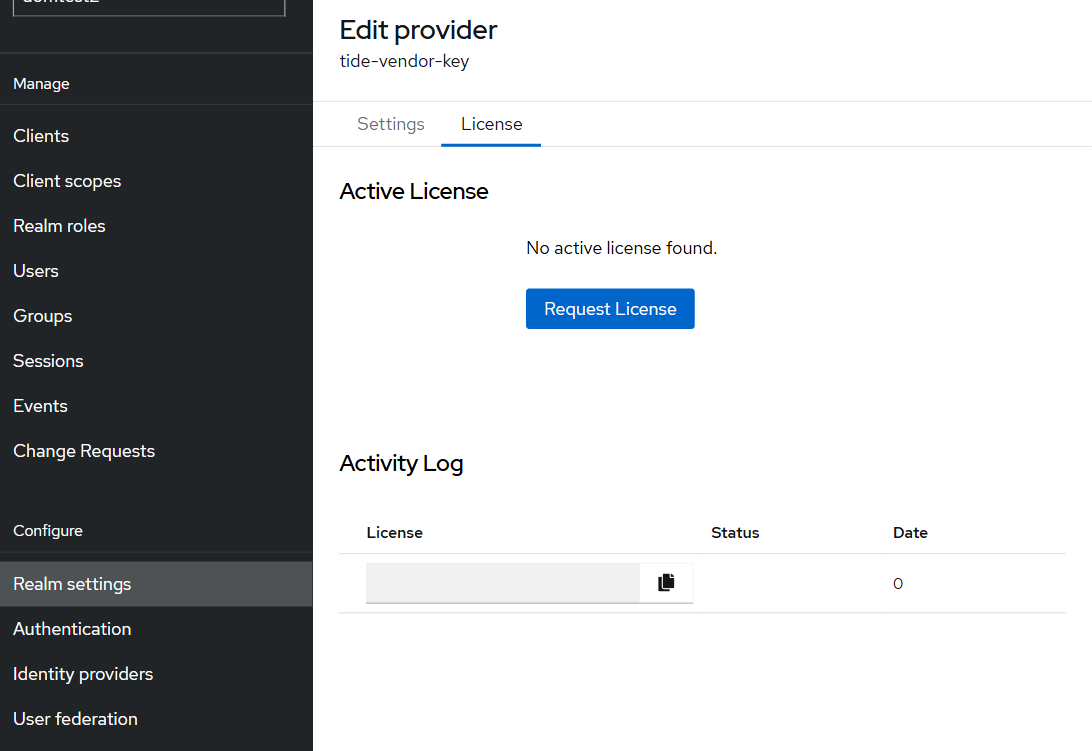
4. Request a License
To request a license (after enabling user registration):
- Go to the Licenses tab inside the Tide settings panel.
- Click Request License.
- Enter your email address (for free-tier users).
- Click Subscribe.
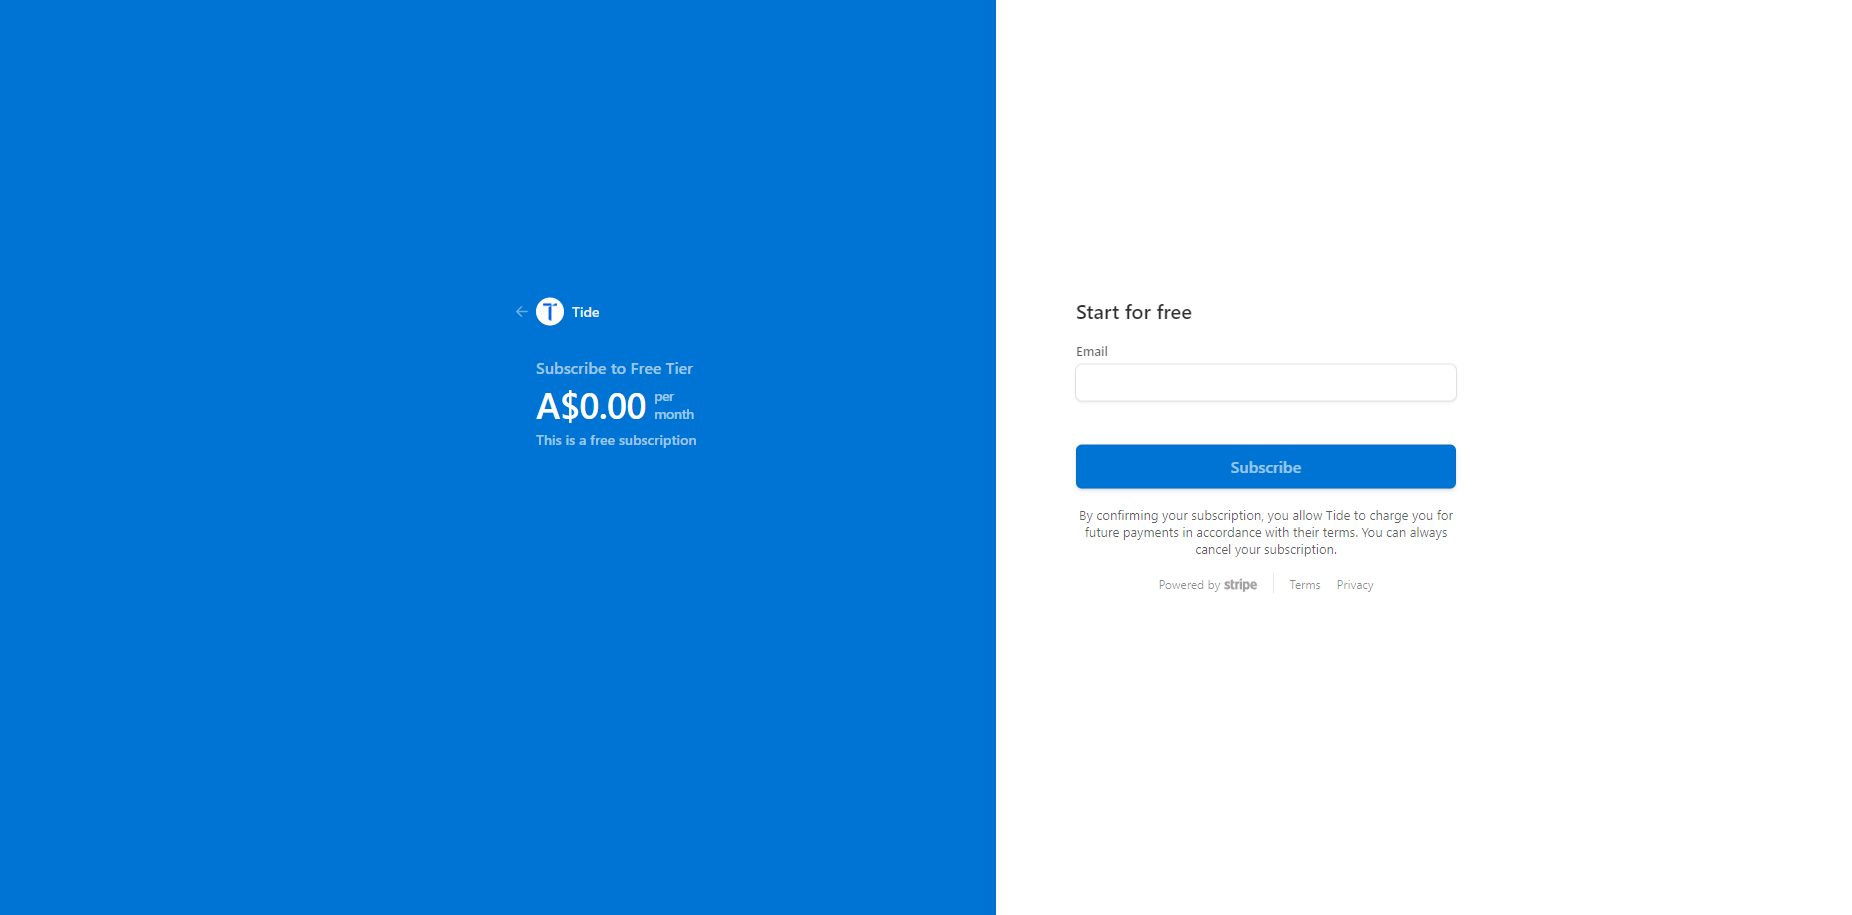
Once submitted, you'll be redirected back to the IDP page. Your Active License will now appear, including:
- License tier and details
- Expiry date
- Maximum and current user count
5. Manage Your License
All license management actions are done through the Licenses tab:
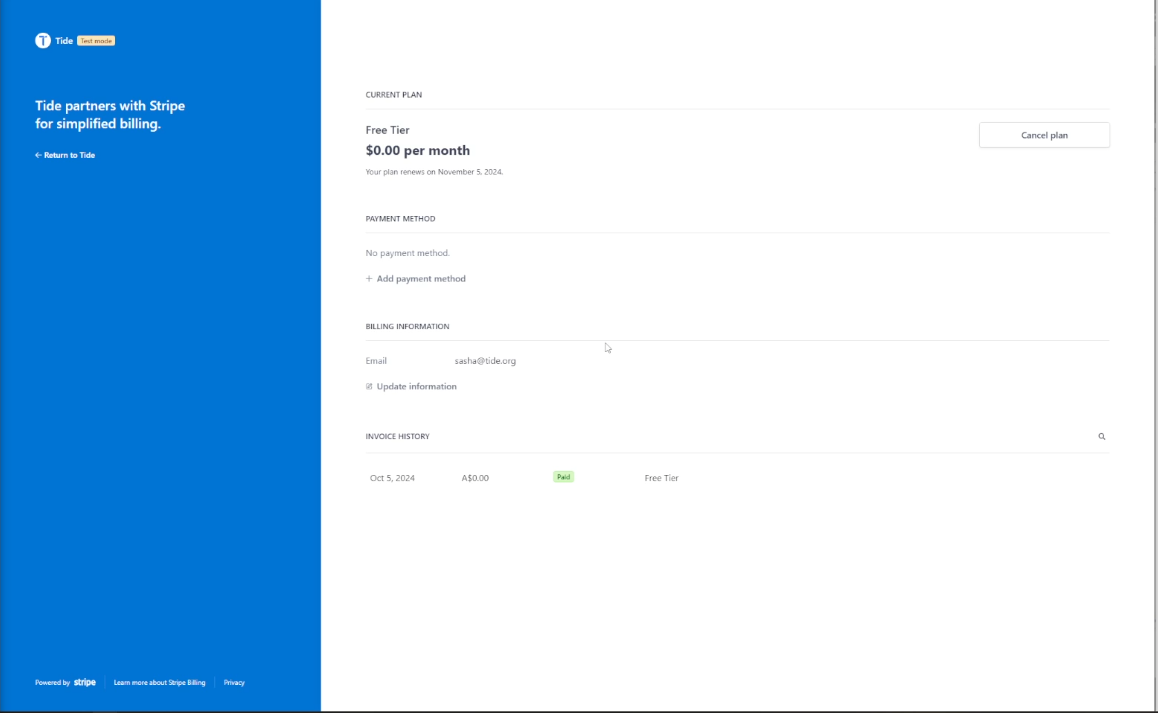
- Click Manage Subscription to update your plan.
- You'll be redirected to a billing management interface.
- Available actions:
- Cancel Plan
- Upgrade Plan
This allows you to programmatically or manually update licensing without disrupting authentication services.
6. License Renewal Process
TideCloak handles renewals automatically every 30 days:
- You will receive an email containing a Secure Settings link.
- Click the link to re-sign your configuration with the new license key.
While license renewal is automatic, re-signing your settings is required to complete the renewal. No manual renewal steps are otherwise necessary.
Provided below is the process flow
Checkout & Initial Activation
License Renewal and Key Rotation
License key request
Update subscription with new license
Notes for Automation
If you're automating deployments or CI/CD setup:
- Use TideCloak's CLI or API (if enabled) to script license requests and IDP setup.
- Watch for renewal emails in your automation pipeline if you need to re-sign config automatically.
- Store current license details securely in your config management system.