Encrypt/Decrypt: Setting Up Tide Data Encryption / Decryption
This guide will walk you through setting up and using of Tide's data Encryption and Decryption functionality.
Prerequisites
Before starting, ensure that you have:
- Familiarity with the Tide admin console.
- The latest version of TideCloak installed.
- New realm created with Tide IDP added and Tide license activated.
- Tide IGA is enable and admin account has tide-realm-admin enabled. To setup the IGA.
Process Overview
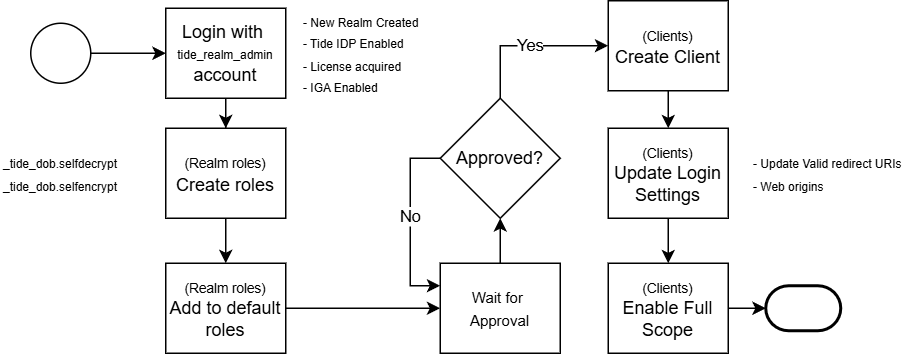
1. Creation of the roles
To enable the encryption decryption, the roles need to be created as outline below:
-
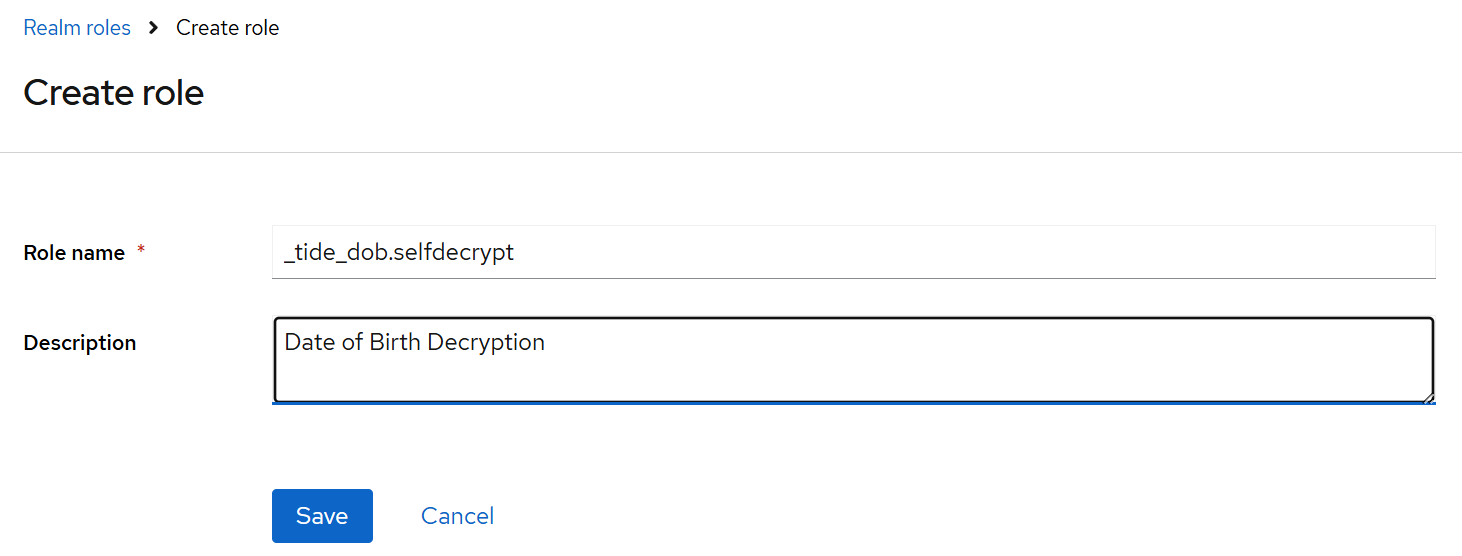
From the side menu click Realm roles. Then click the Create role button.
-
Create 2 roles for each data that needs to have an encrypt/decrpyt functionality. In this example, we want to enable Date of Birth (DOB) encrpyt/decrypt.
_tide_dob.selfdecrypt
_tide_dob.selfencrypt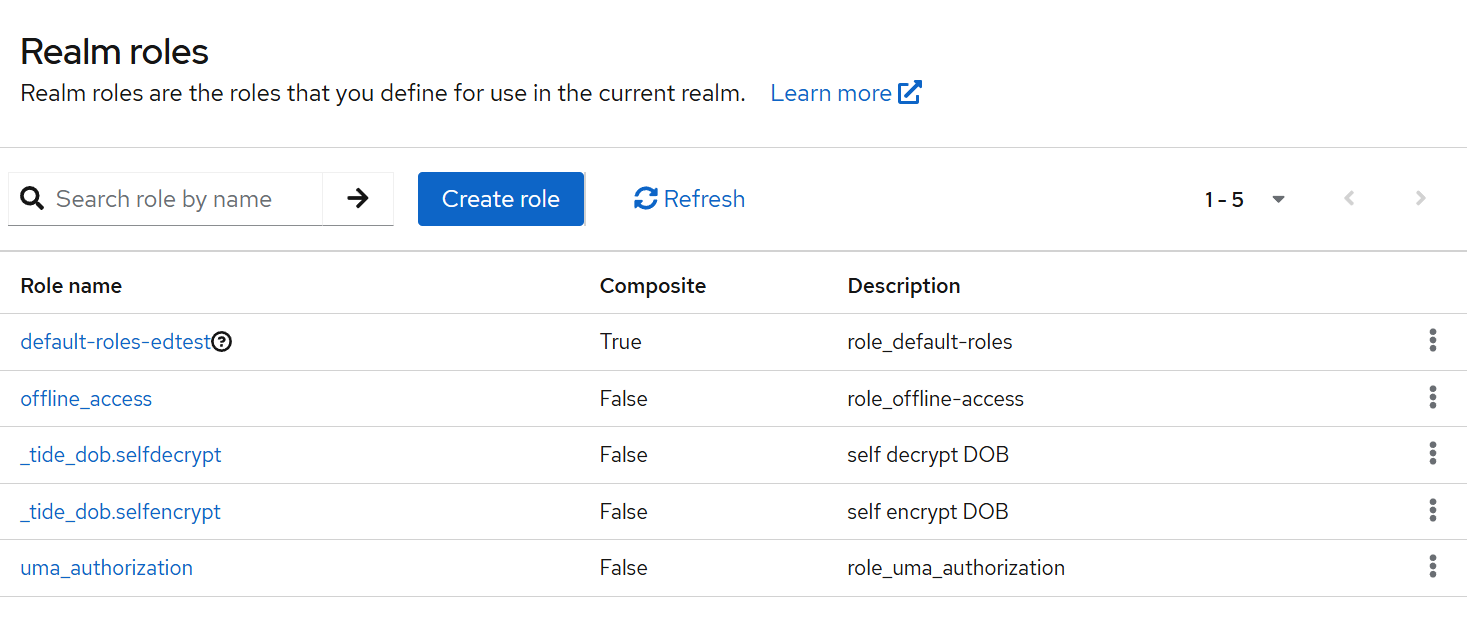
-
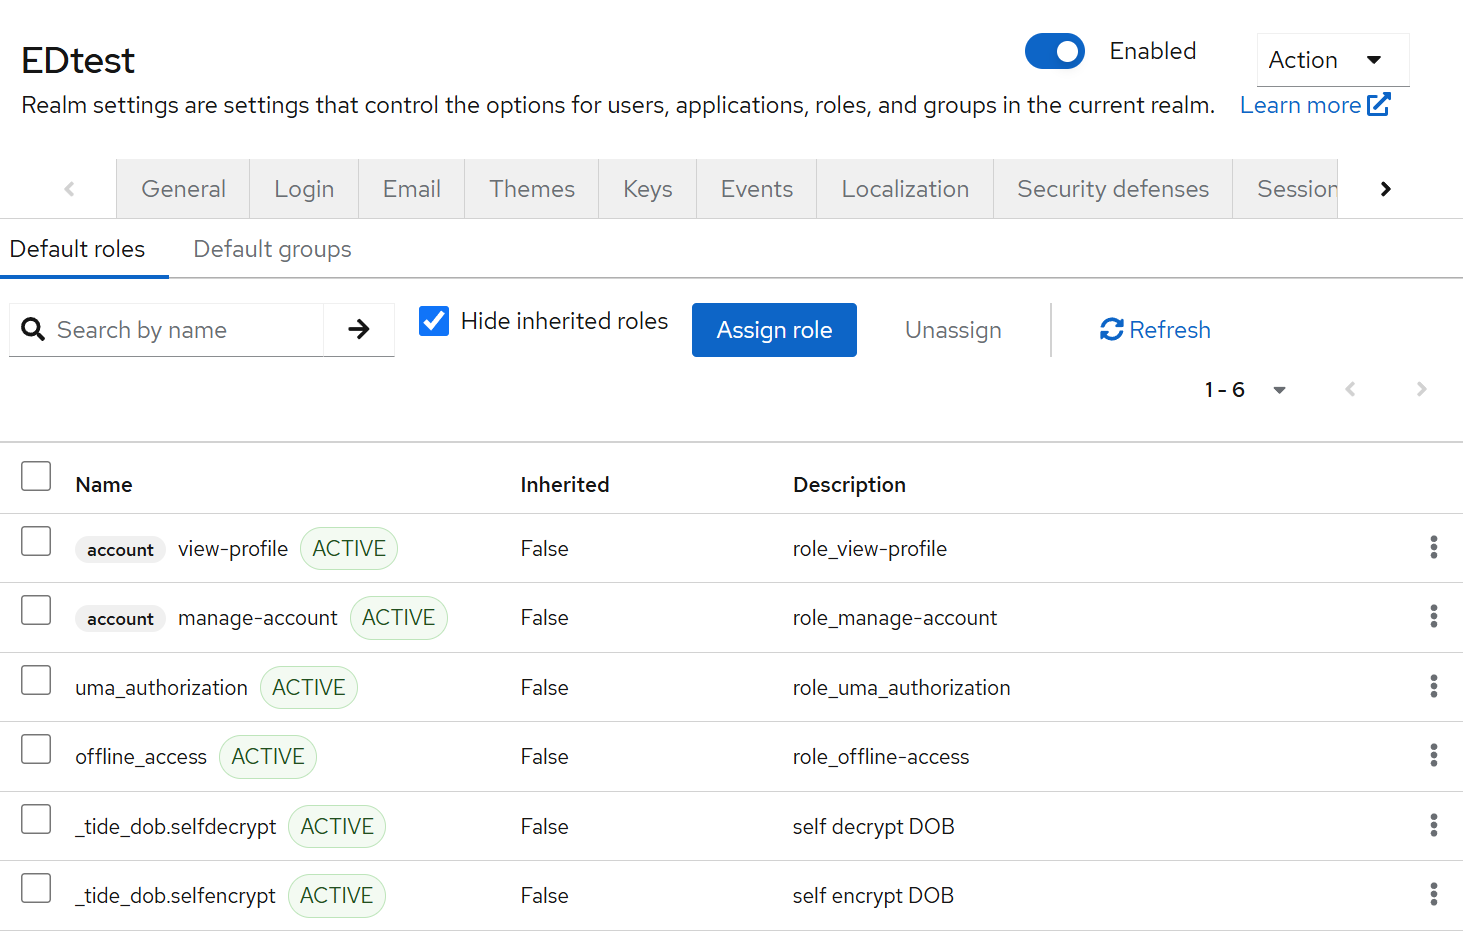
Add the newly created roles to the default roles - default-roles-edtest. This can be achieved by clicking the default-roles-edtest from the Realm roles. Click the Assign role button and Filter by realm roles add the newly created roles
_tide_dob_selfdecryptand_tide_dob_selfencrypt.
-
The updated
default-roles-edtestneeds to be approved through Change Request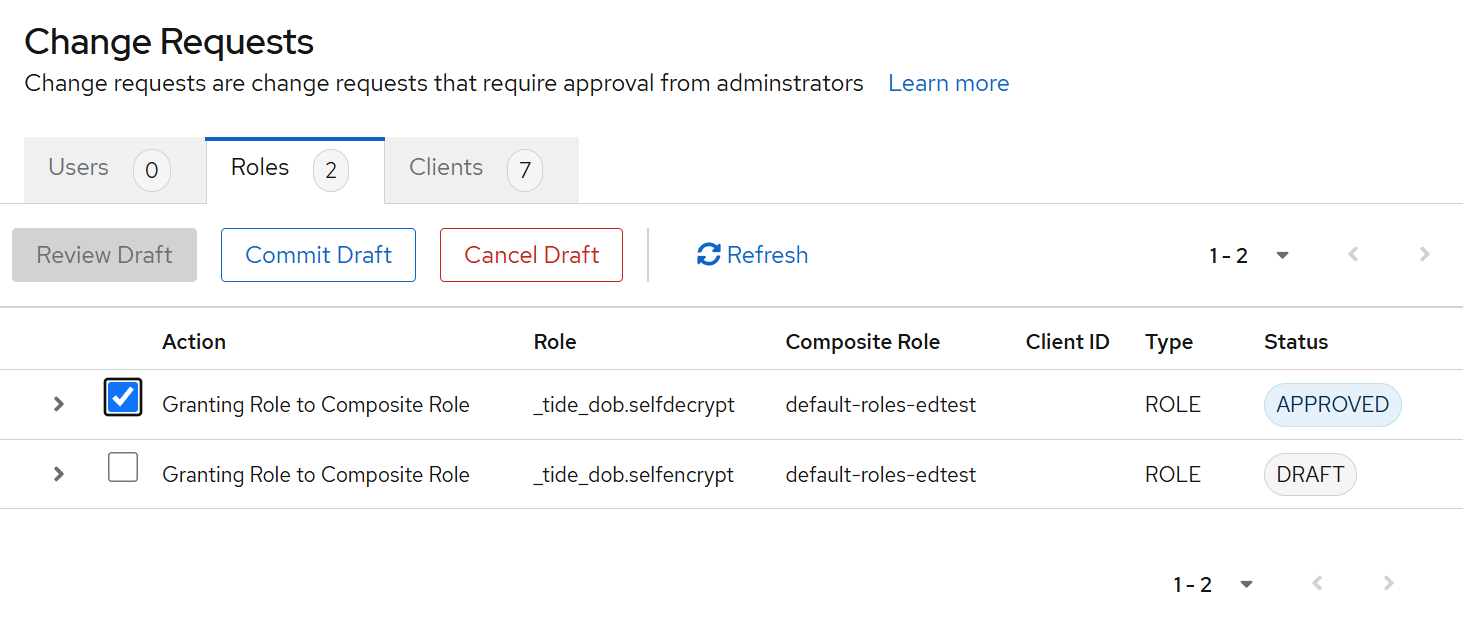
-
Once both Role has been approved by the Admins the you should see this.
2. Creation of the Client
To use the newly created roles, the client needs to be created.
-
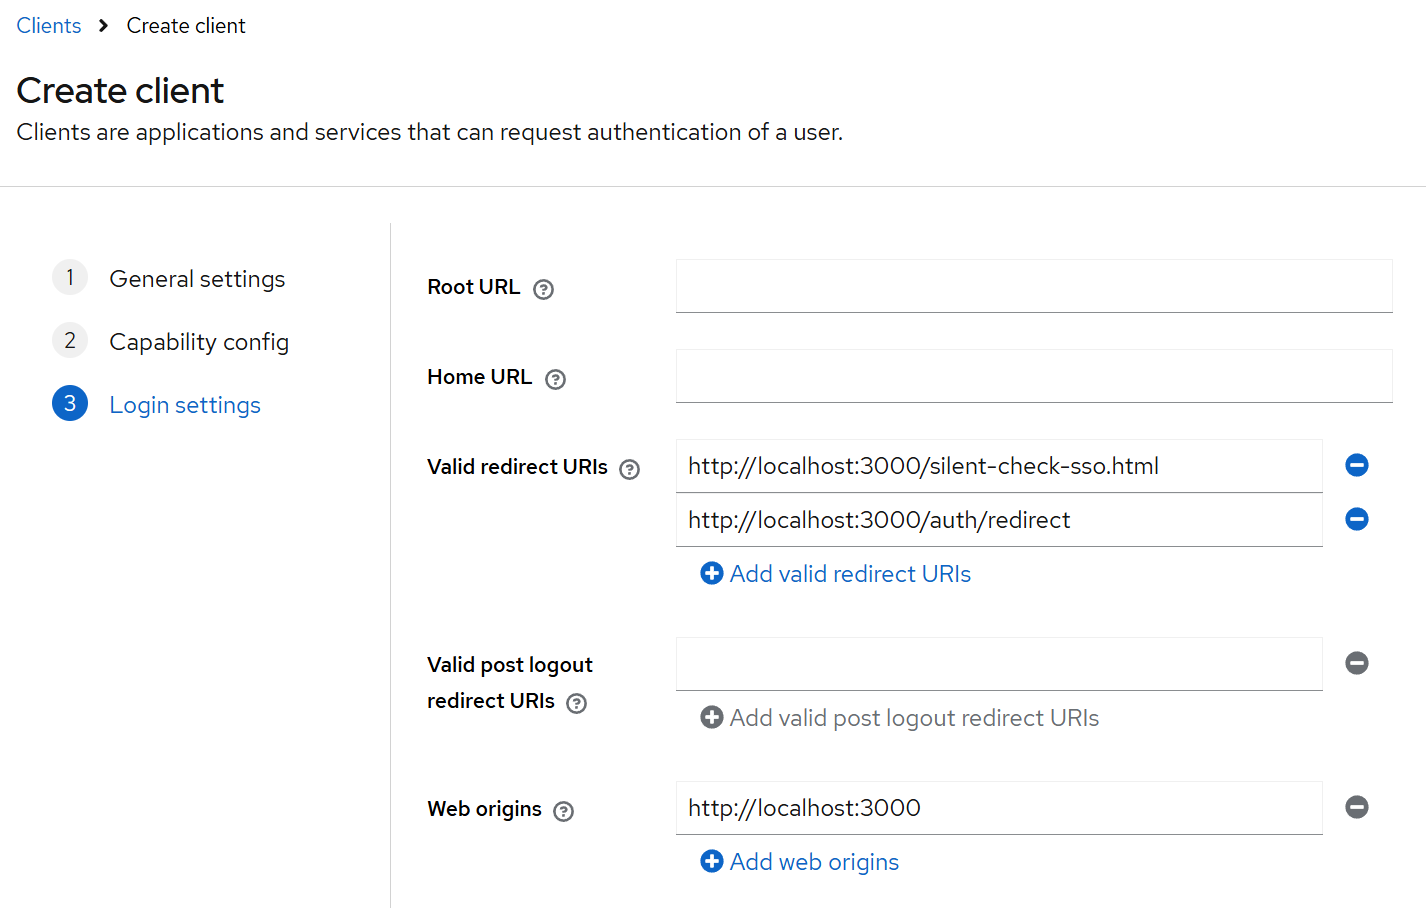
From the left menu click Clients. Click Create client button. Client type is OpenID Connect. Fill the Client ID and Name.
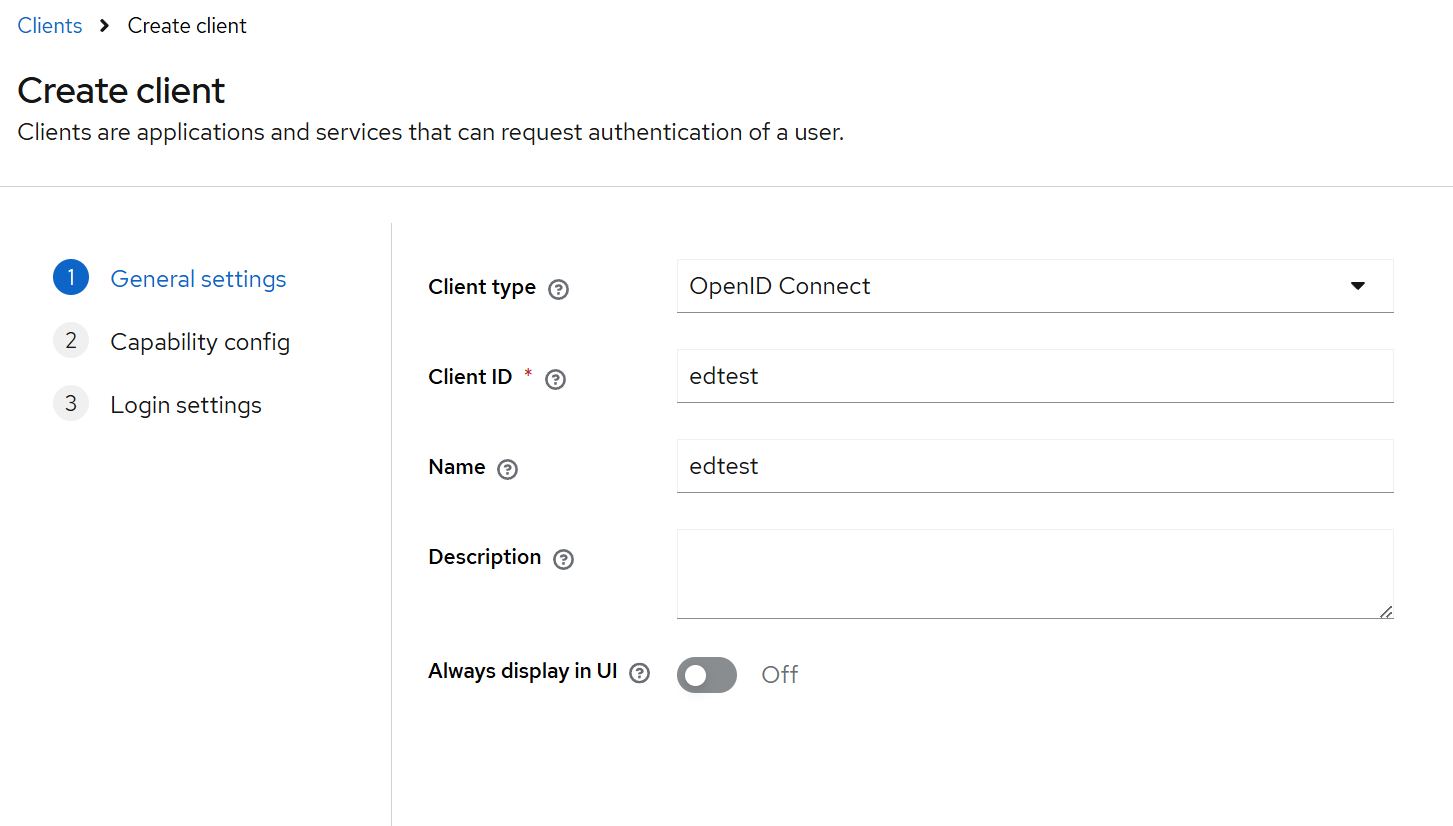
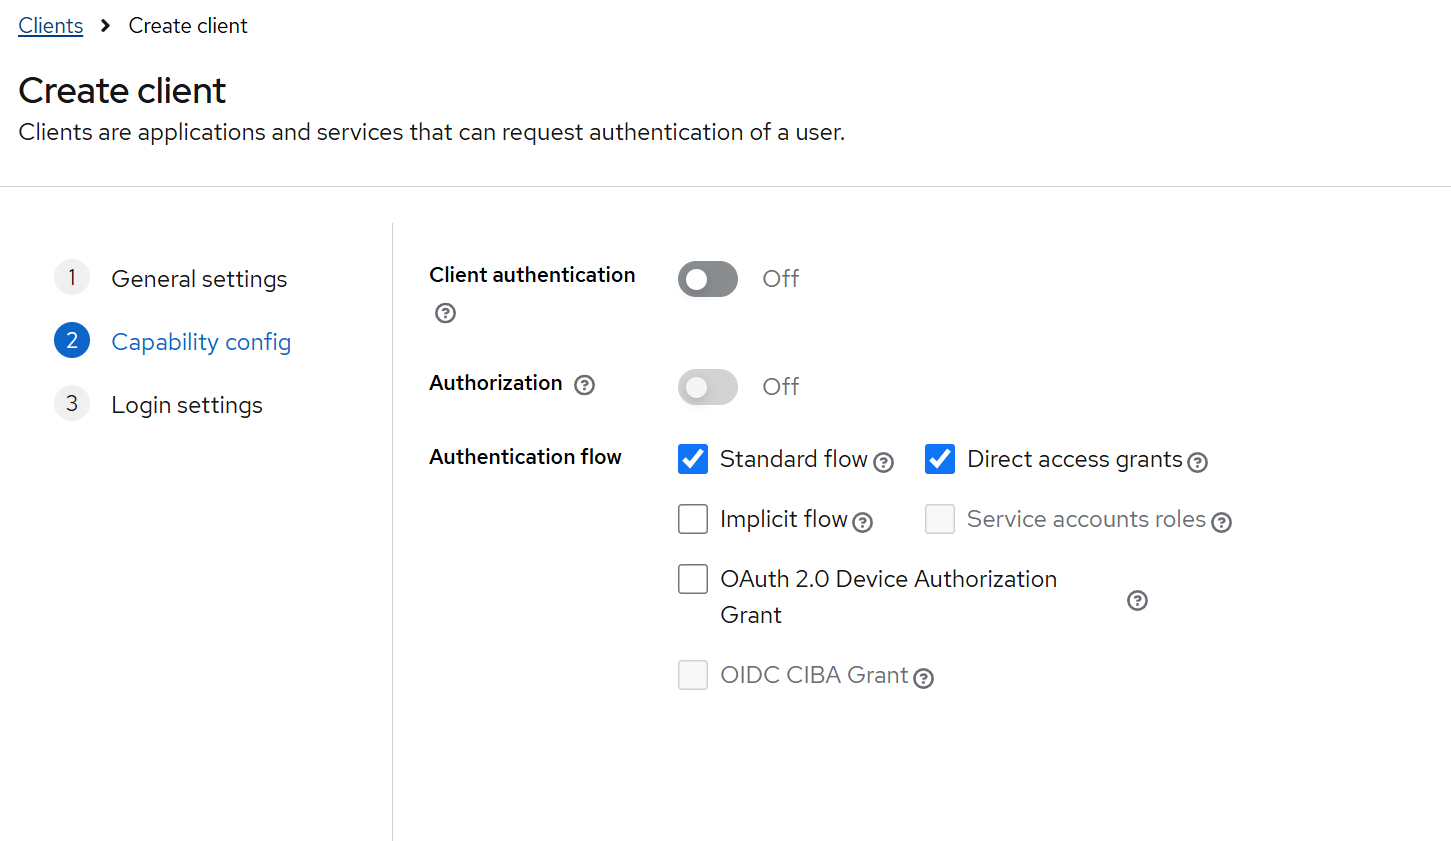
For our nextJS client example use the following details:
-
While in Clients, click Client Scopes tab > edtest-dedicated > scopes and Enable Full scope allowed