Developer Guide: Setting Up and Managing a TideCloak License
This guide walks you through the steps required to configure and manage your Tide license on TideCloak, including setting up a realm, adding Tide as an Identity Provider (IdP), and handling Tide license renewal.
Prerequisites
Before you start, ensure the following:
- You have access to a TideCloak admin account.
- You're running the latest version of TideCloak.
- You understand how realms and user registration work in TideCloak.
1. Create a Realm
A TideCloak realm is required before licensing. If you haven't created one yet:
- Refer to TideCloak Quickstart → Creating a Realm to initialize your environment and apply core configurations.
2. Add Tide as an Identity Provider
Once the realm is configured:
- Navigate to Identity Providers in the admin console.
- Click Tide to initiate setup.
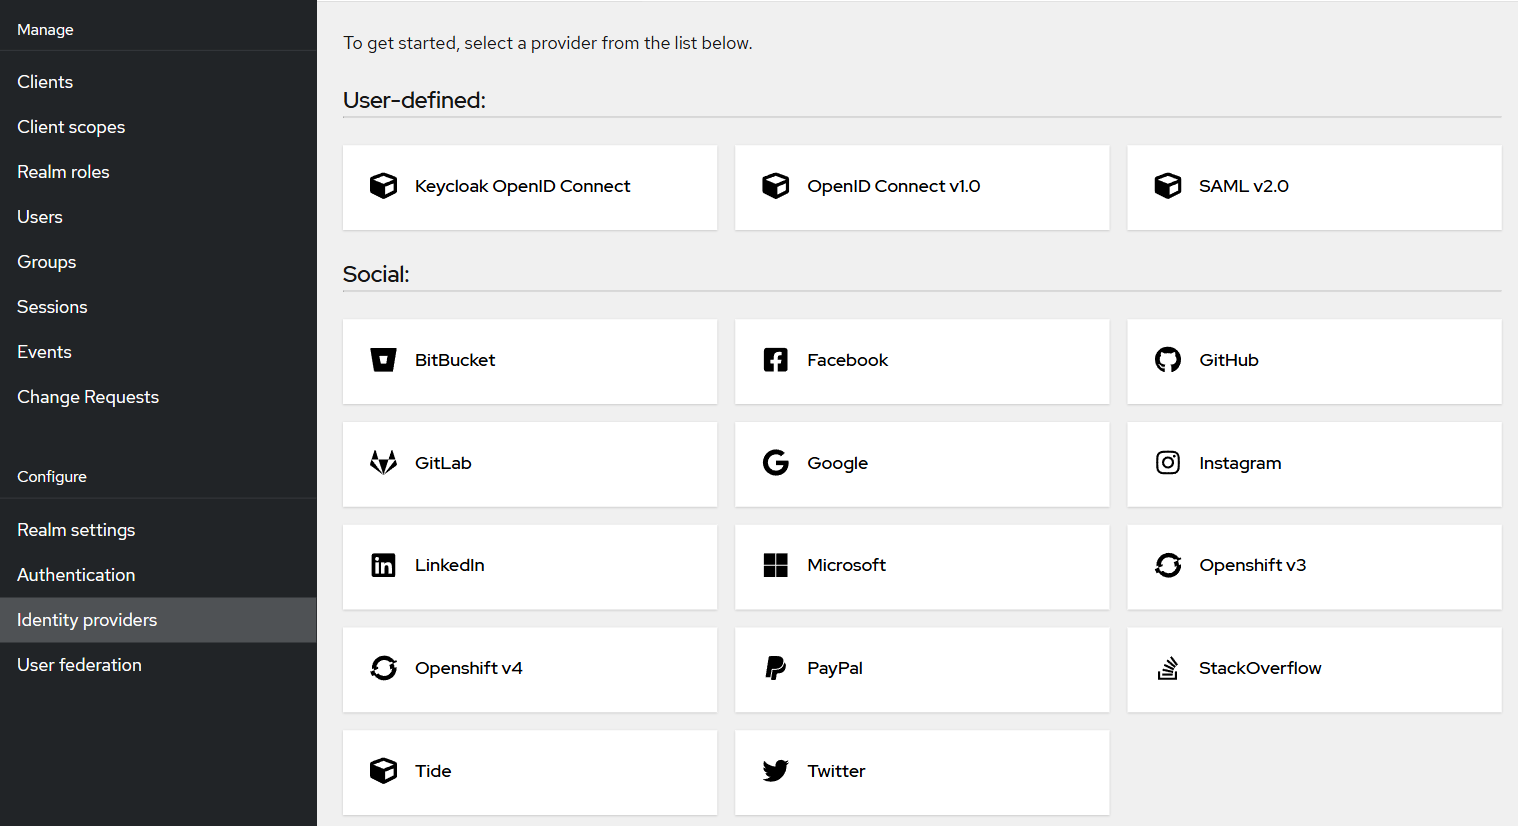
- A new Tide instance will be created under your realm, and a Settings tab will appear.
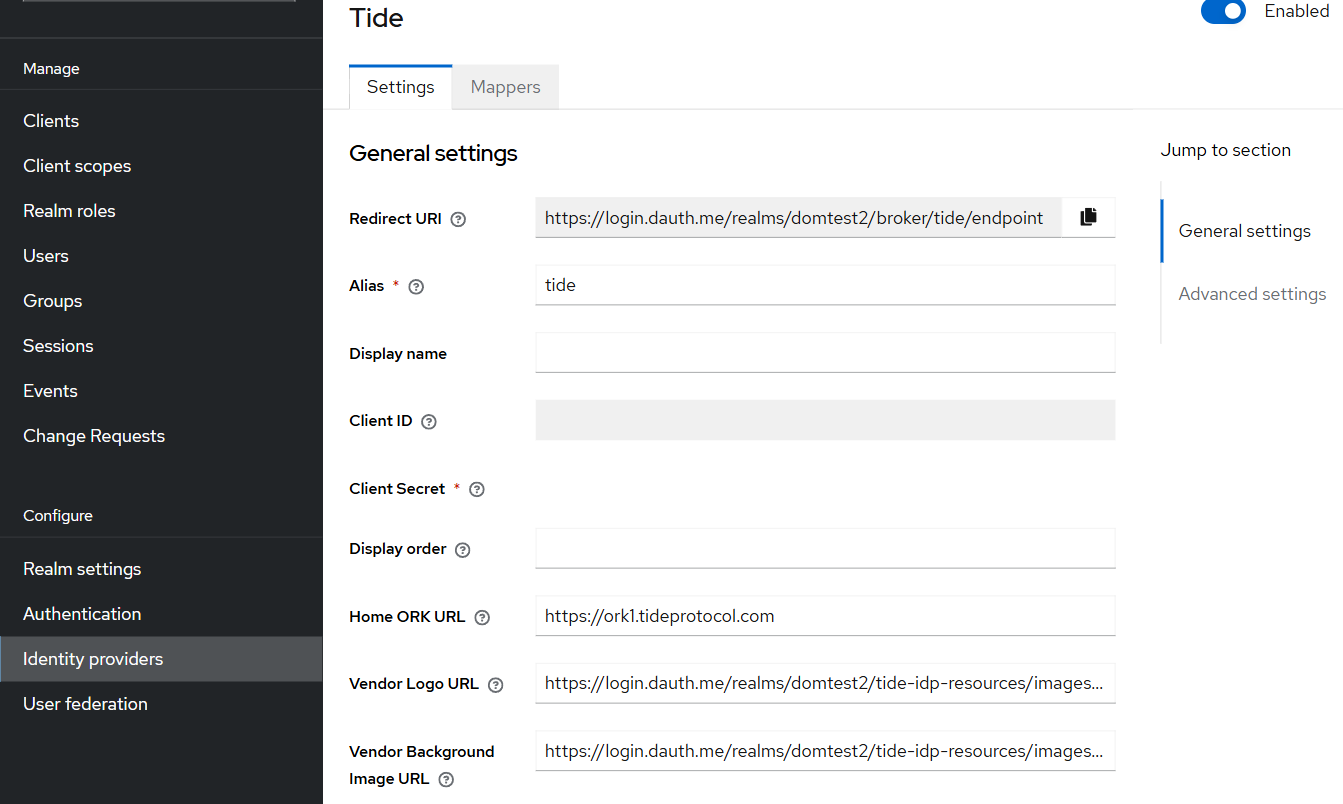
Within the Settings tab, you'll configure the Licensing for the Tide-enabled realm. This controls how license data flows between TideCloak, your application and Tide's Cybersecurity Fabric.
3. Access the License Management Interface
Once the IdP is created:
- Open the Tide Settings tab.
- Click the Manage License button.
- You'll be taken to the License Dashboard where you can view:
- Active License
- Upcoming License Changes
- Activity Log of license events and renewals
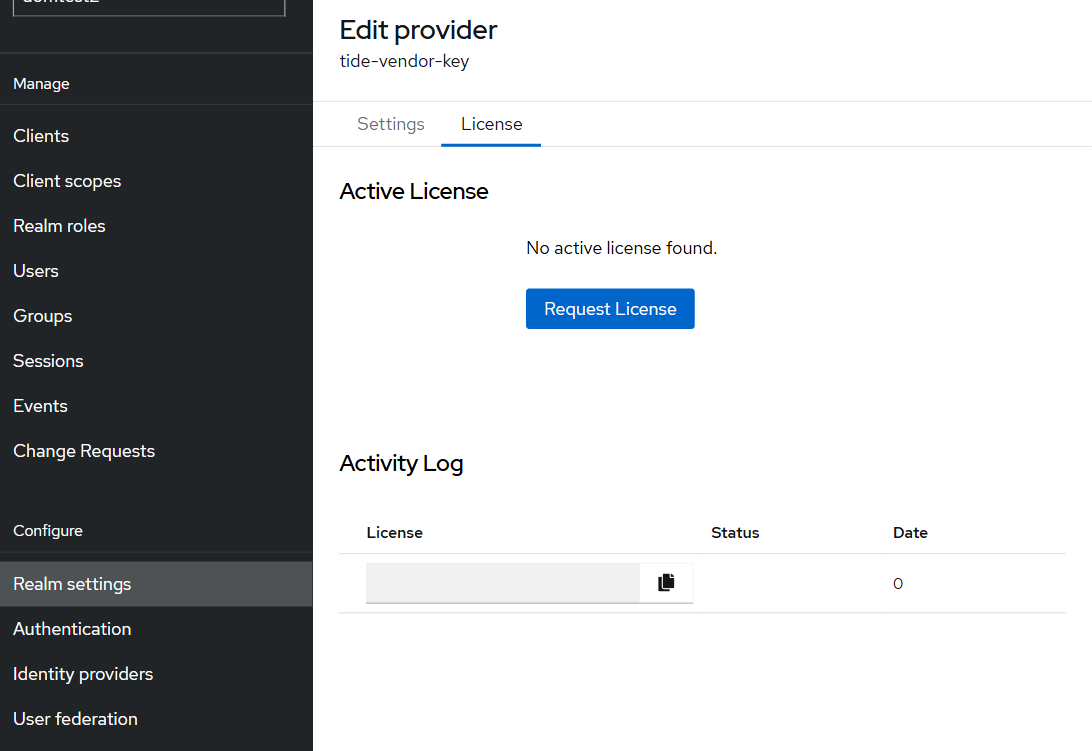
4. Request a License
To request a license (after enabling user registration):
- Go to the Licenses tab inside the Tide settings panel.
- Click Request License.
- Enter your email address (for free-tier users).
- Click Subscribe.
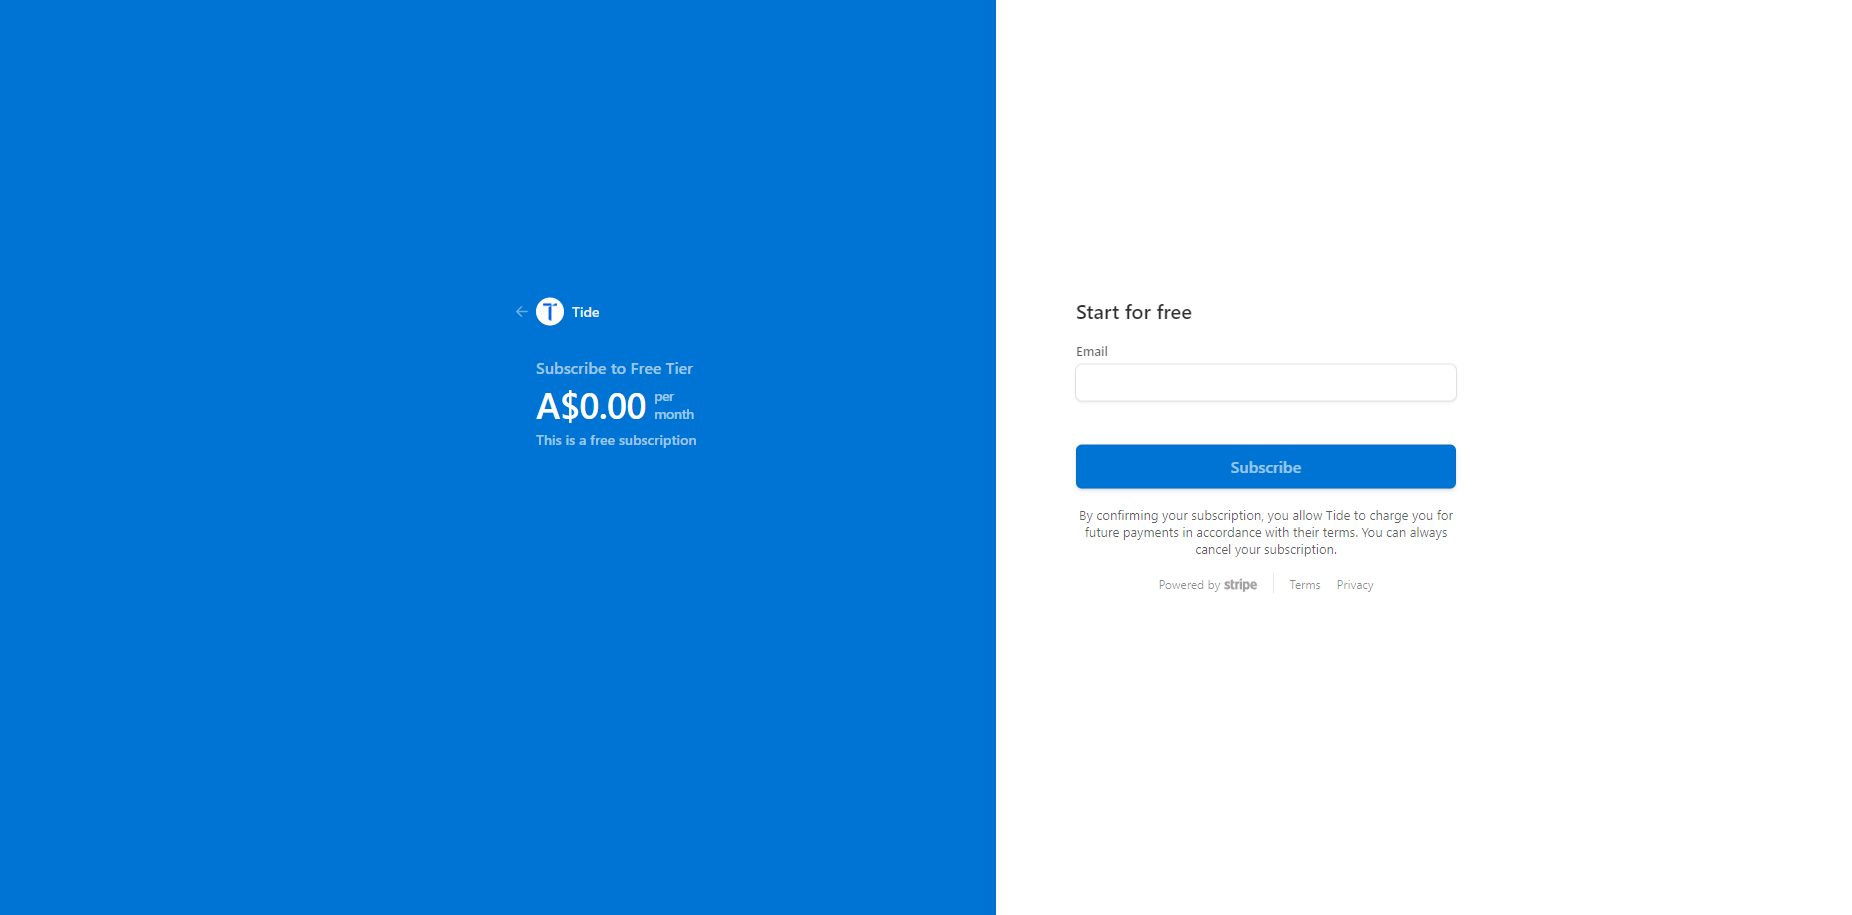
Once submitted, you'll be redirected back to the IDP page. Your Active License will now appear, including:
- License tier and details
- Expiry date
- Maximum and current user count
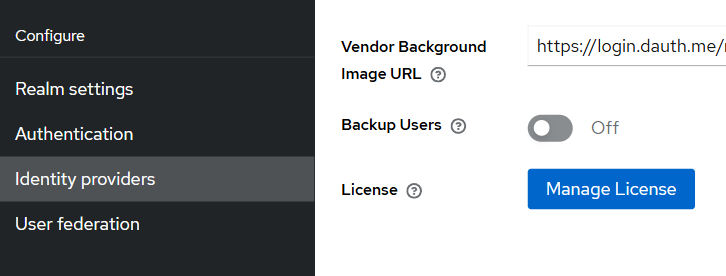
5. Manage Your License
All license management actions are done through the Licenses tab:
- Click Manage Subscription to update your plan.
- You'll be redirected to a billing management interface.
- Available actions:
- Cancel Plan
- Upgrade Plan
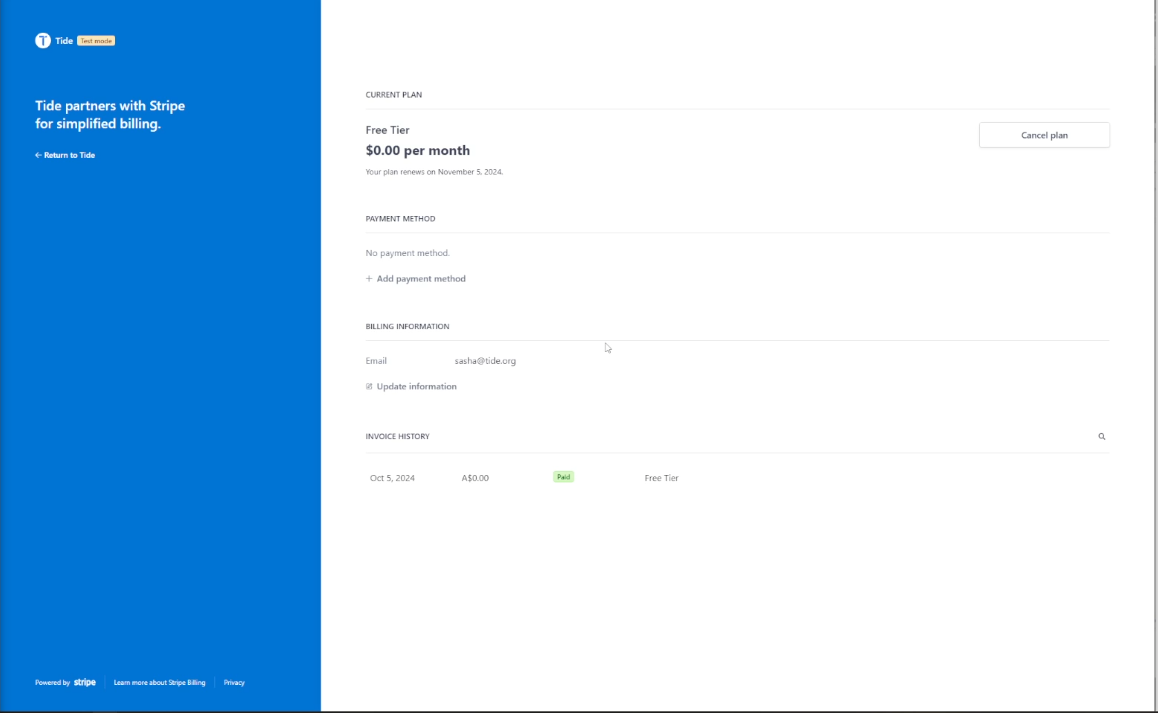
This allows you to programmatically or manually update licensing without disrupting authentication services.
6. License Renewal Process
TideCloak handles renewals automatically every 30 days:
- You will receive an email containing a Secure Settings link.
- Click the link to re-sign your configuration with the new license key.
While license renewal is automatic, re-signing your settings is required to complete the renewal. No manual renewal steps are otherwise necessary.
Provided below is the process flow
Checkout & Initial Activation
License Renewal and Key Rotation
License key request
Update subscription with new license
Notes for Automation
If you're automating deployments or CI/CD setup:
- Use TideCloak's CLI or API (if enabled) to script license requests and IDP setup.
- Watch for renewal emails in your automation pipeline if you need to re-sign config automatically.
- Store current license details securely in your config management system.