Quickstart TideCloak New Realm
A developer-oriented guide to deploy a local dev TideCloak identity and access management server, set up a new realm and activating it with Tide.
Prerequisites
- Docker installed & running
- Internet connectivity
- CLI familiarity (Docker, curl)
1. Start a TideCloak server instance in local Dev Mode
Run a pre‑configured Dev container:
sudo docker run \--name mytidecloak \-d \-v .:/opt/keycloak/data/h2 \-p 8080:8080 \-e KC_BOOTSTRAP_ADMIN_USERNAME=admin \-e KC_BOOTSTRAP_ADMIN_PASSWORD=password \tideorg/tidecloak-dev:latest
--name: setting name for the server-d: run in the background-v: map the database to local folder to make it persistant-p 8080:8080: map host portKC_BOOTSTRAP_ADMIN_[USERNAME | PASSWORD]: set admin credentials
After few seconds, you'll be able to access the Admin console: http://localhost:8080
Optional: Check TideCloak console logs
sudo docker logs mytidecloak -f
2. Activate Your License
- Log in to Admin console (
admin/password). - Manage your realm:
myrealm(default Dev realm). - Go to Identity Providers → tide → Manage License.
- Click Request License, enter your email, and confirm.
Free developer license supports up to 100 users.
3. Test with the Dummy App
Use TideCloak's test client:
- Open https://test.tidecloak.com/.
- Verify defaults to be
- TideCloak URL:
http://localhost:8080 - Realm:
myrealm - Client:
myclient
- TideCloak URL:
- Click Save.
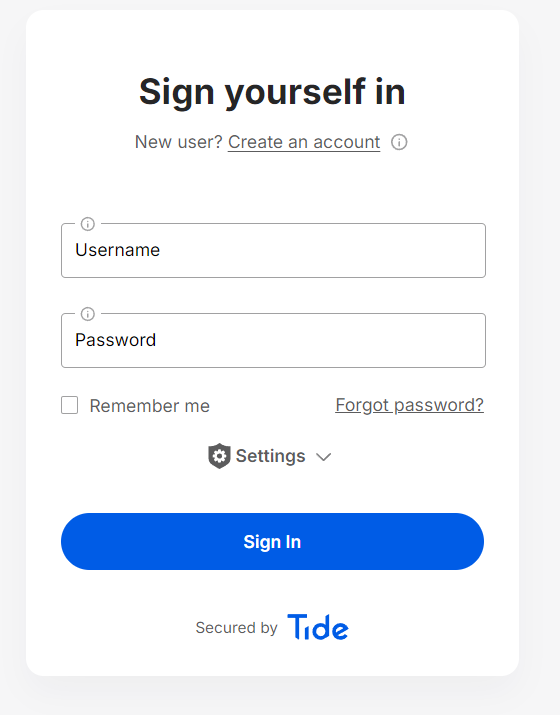
- Click Sign in → complete auth via Tide portal.
Successful login confirms your host is operational.
Admin Console Quick Tasks
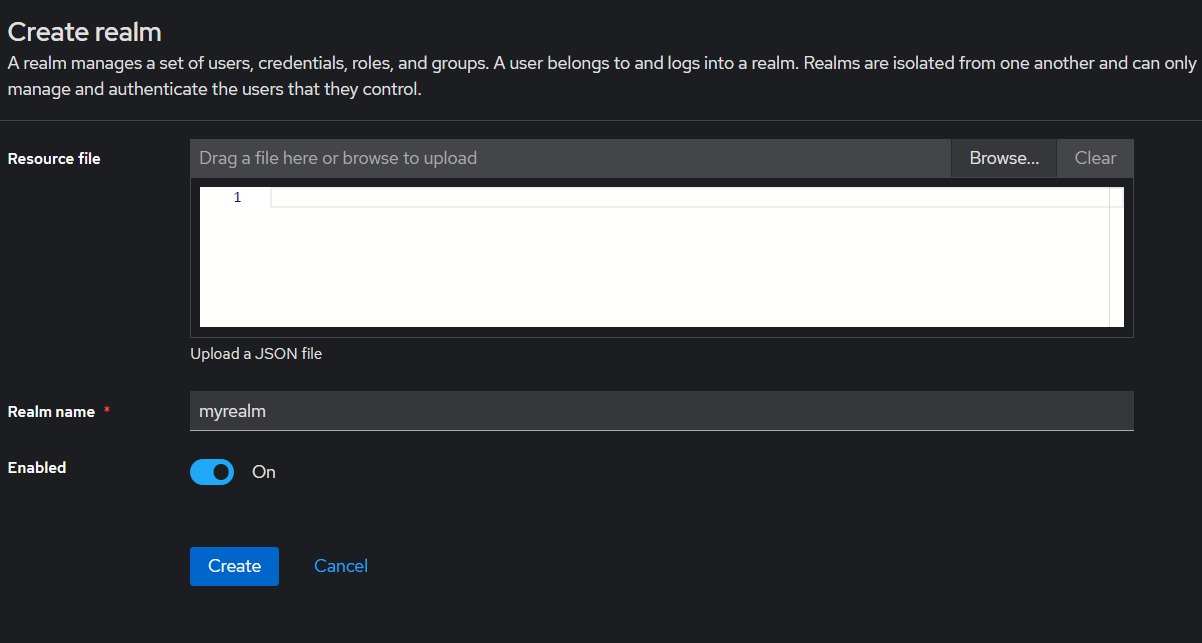
a. Create a Realm
What is a Realm? A realm groups users, roles, and clients.
- Admin UI → Master dropdown → Add Realm
- Enter myrealm-dev → Create
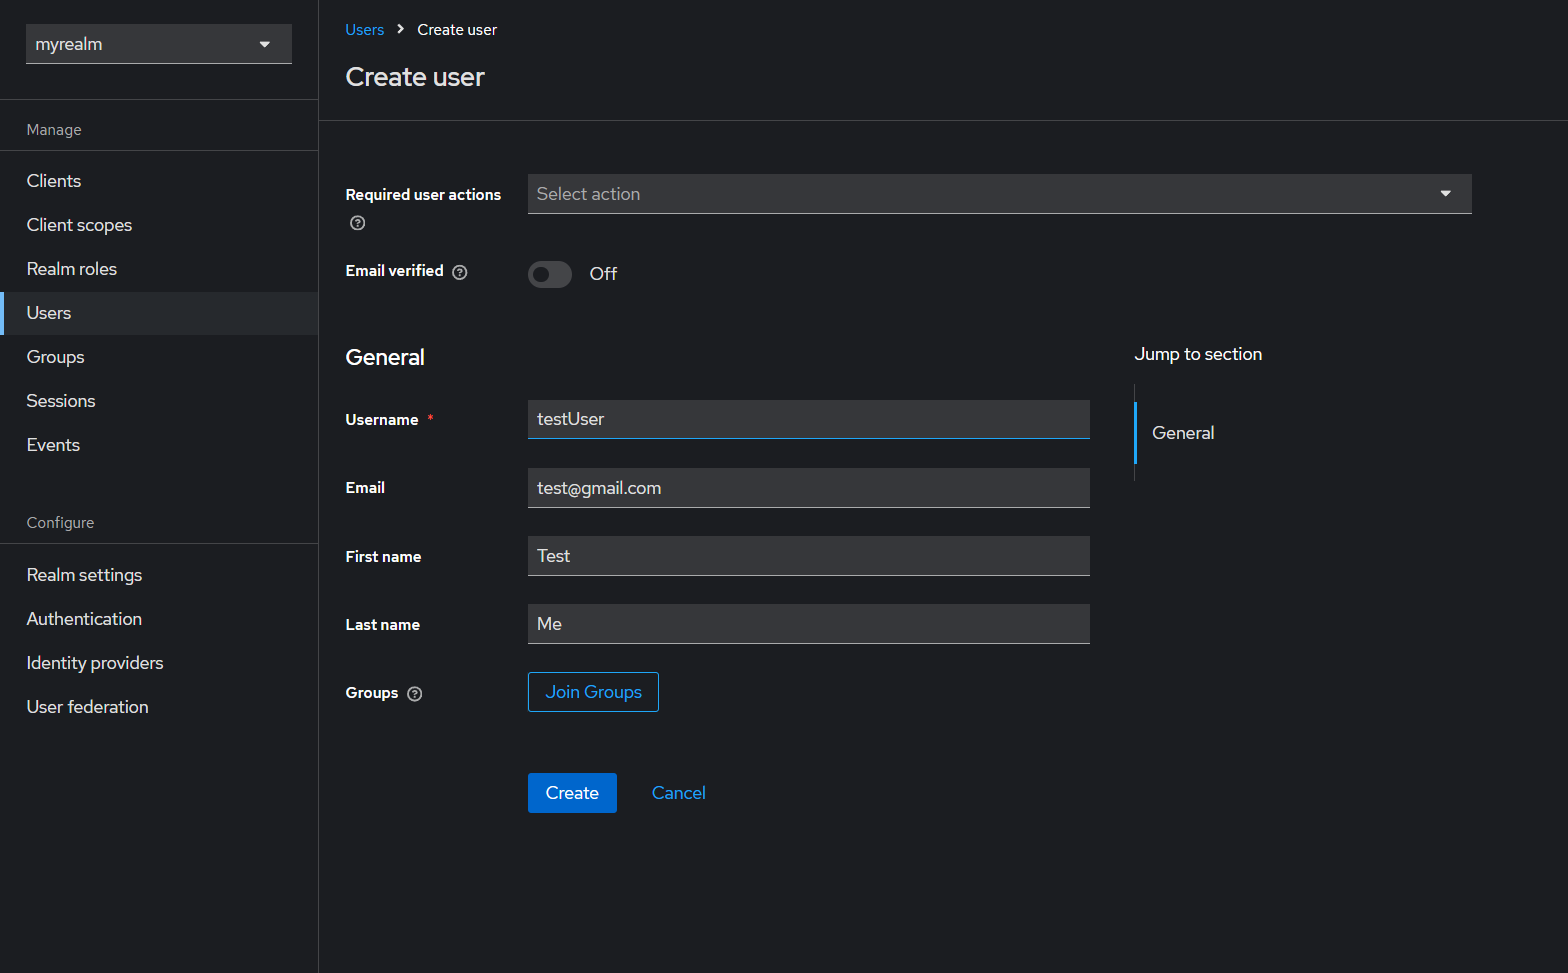
b. Create a User
What is a User? Represents an individual account.
- Users → Add User
- Enter
username, click Save - Go to Credentials tab → Credential Reset link → set Reset action: Link Tide Account → Copy Link button
- Paste the link in a message to the designated user (DM / email / SMS)
- Have user follow the instructions.
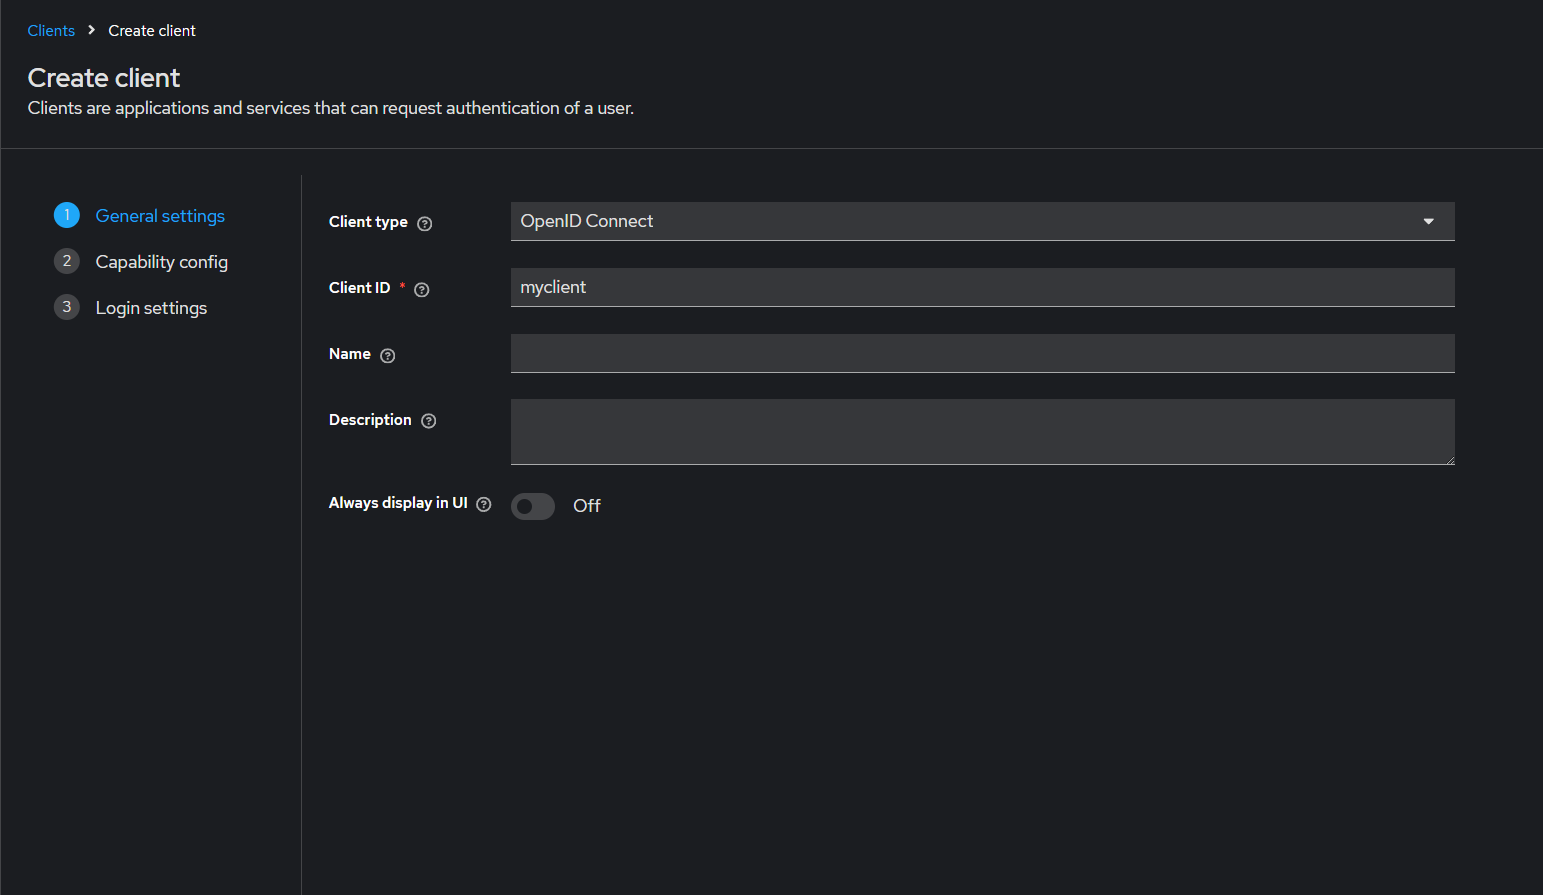
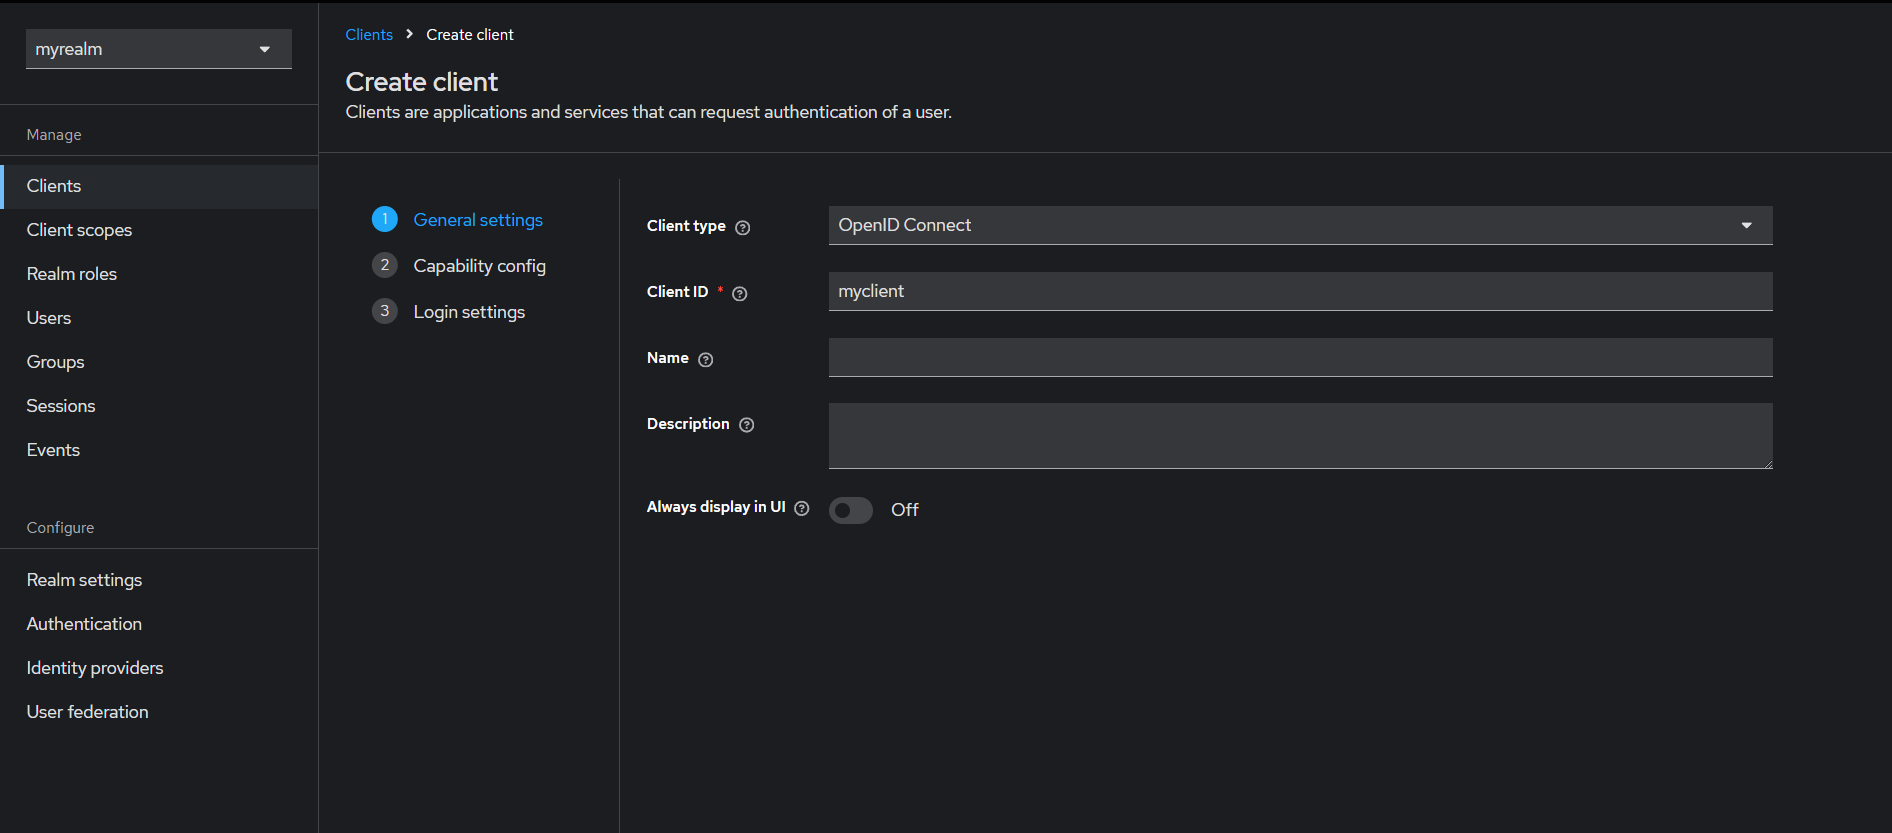
c. Register a Client
What is a Client? An application that uses TideCloak for auth.
- Clients → Create
- Enter Client ID:
myclient, Protocol:openid-connect→ Save
- Configure Redirect URIs, Access Type, Scopes → Save

Account & SDK Clients
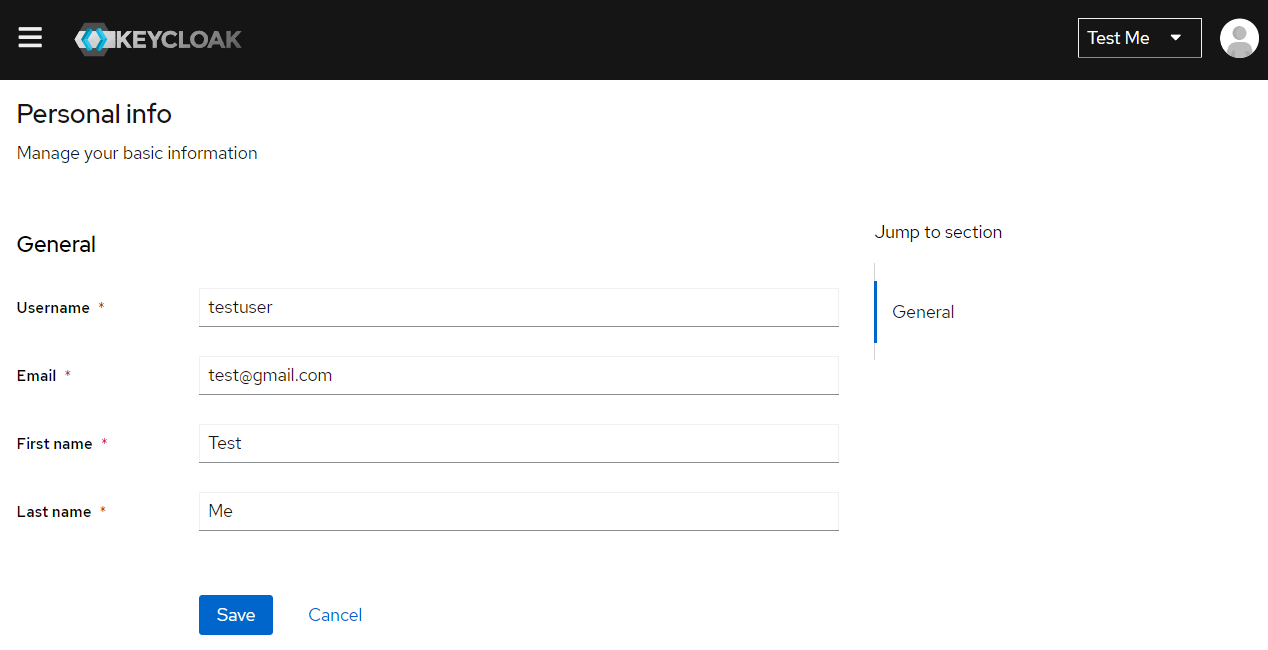
User Account Console
- URL:
http://localhost:8080/realms/myrealm-dev/account - Users manage profile, password, 2FA
SDK Integration Client
Create a dedicated client for SDKs:
- Clients → Create
- Client ID:
tide-sdk-client, Protocol:openid-connect→ Save - Configure Access Type:
confidential, Redirect URIs, Web Origins
Done! You've deployed TideCloak Dev, activated licensing, and completed core Admin Console tasks. Integrate further via CLI, REST API, or Terraform.